Tag Archives for " moisture "

Wash your hands AND your wristband!

Wash your hands AND your wristband!

Their popularity never seems to diminish, and where there’s one, there’s usually a stack of them: wristbands.  Silicone is a popular material choice because it is flexible, durable, can be colorful, shaped into wide or small bands, and even hold useful appliances like smart watches and gym passes.  However, depending on the material and the wearer, wristbands can carry harmful germs that don’t get as much attention as they should. 

According to a study by Florida Atlantic University's Charles E. Schmidt College of Science, there is a correlation between the material (plastic, rubber, cloth, leather and metal (gold and silver)) and the prevalence of bacteria.  Plastic and rubber had the highest incidence of bacteria because they tend to hold moisture between it and the wearer’s skin, and foster microbial growth unless some sort of antibacterial coating is incorporated.  Not surprisingly, gold and silver had virtually no bacteria (these are age-old non-toxic anti-microbial materials due to the ions they release).  

The other variable was the activity (hygiene) of the subject at sampling time. (no significant differences between males and females were detected in the occurrence or distribution of the bacteria groups).   This means that more activity (exercise) and specifically going to the gym, increased bacteria counts.  Here are the types of bacteria monitored:

  • Staphylococcus and Pseudomonas, which are common skin residents.  The highest staphylococcal counts were found on wristbands from gym-goers.  Besides the skin, Staphylococcus aureus is a type of bacteria found in the nose, armpit, groin and other areas, and causes a wide variety of diseases. Pseudomonas spp. can cause infections in blood, lungs (pneumonia) or other parts of the body following surgery. 

  • Intestinal organisms of the genera Escherichia, specifically E. coli: these are prevalent in the bathroom and can land anywhere on you after you flush a toilet (don’t fear, we show you how to protect against this here).  However, raw foods in the kitchen are another source for these bacteria.

Thankfully, the study also investigated what types of cleaners were the most effective at reducing bacteria: 

  • Lysol™ Disinfectant Spray and 70 percent ethanol were highly effective regardless of the wristband material with 99.99 percent kill rate within 30 seconds.  While Lysol has been trusted for disinfection for many years, it’s not non-toxic: most of the spray can formulations earned an “F” rating on the Environmental Working Group’s website.  Instead, try hypochlorous acid, like this Force of Nature Starter Kit.  For more about hypochlorous acid, check out our post here

  • Apple cider vinegar, a common “DIY” cleaning ingredient, was not as potent and required a full two-minute exposure to reduce bacterial counts.

Although they weren’t tested in the study, we do have some simple alternatives to help you wear your wristbands with less germs:

  • If it’s flexible enough, turn your wristband inside-out once in a while during the day to expose the underside to light and air.  The UV rays in sunlight, as well as the ions in fresh air, kill germs!

  • Although many wristbands can be worn 24/7, it’s a good idea to take them off after showering to let your skin and the underside of the band dry out.  Leaving them off overnight is even better.

  • Hand sanitizers:  Sanitizers are super convenient when soap and water is not available, so whenever using it on your hands, spread some around the wristband and your wrists. The same goes for washing your hands–just make sure to rinse off the soap.

If you decide to upgrade your rubber silicone wristband, think gold or silver.   In this case, you will get what you pay for–less germs!

Getting rid of the ICK: Mold in the Shower

Getting rid of the ICK: Mold in the Shower

Mold growth in the shower seems to me like cockroaches in a house: even luxury homes sometimes have problems with each, and sometimes it takes a number of attempts to find a non-toxic solution for them!   The shower just happens to be the ideal place for mold to grow (moisture, food, air and heat are all applied daily!), so keeping the shower from looking like a petri dish can be challenging.  Let us help you with this problem!

Since we know, wittingly or unwittingly, how to grow mold, we can look at its life source requirements and see if we can eliminate one or more to get a mold-free shower.

Moisture:  You would think that taking the “wet” out of a shower is impossible.  Of course, the shower will often be wet, but the important bit is that it’s not continually wet or wet for long periods.  There are various ways to dry it out after showering; check to see if there are any that you haven’t tried! 

  • Make the surfaces hydrophobic:  Hydro-what?  Hydrophobic is the characteristic of products like Rain-X: they repel water instead of absorbing them, so that water drops roll right off.  The active ingredient in Rain-X is Polydimethylsiloxane (PDMS), which is rated a “1” on scale of 1-10 by the Environmental Working Group (meaning it’s of very low toxicity).  In fact, here’s a tip that has worked well for me: after thoroughly cleaning your shower as well as you can (see next section), give all the surfaces, glass and otherwise, with a coat or two of Rain-X to make the water slide right off.

  • Squeegee: This tool, normally in the hands of a window-washer, is also useful for removing water from flat surfaces in the shower.  It can work somewhat on tile if the tiles are large and flat, but it works on glass even better.

  • Drain: Obviously, the water has to have somewhere to go.  If your drain is not working well, you can enlist the help of a plumber.  While the plumber is involved, inquire whether the venting of the drain is adequate (if a vent is too distant or non-existent, the drain does not work well and can cause mold build-up).  If the slope of the shower pan leaves puddles in the floor, it might be prudent to think about replacing or remodeling the shower, because continually wet floors are not only unsanitary, they’re unsafe!

Food: Molds can dine on just about anything, and dead skin cells and even bodywash and hair shampoo are on the menu.  That’s why regular cleaning can break the mold chain even if the other “links” like moisture, air and heat are present.  Find a non-abrasive sponge or brush to avoid damage, and go to town with a non-toxic cleaner:

  • TotalClean is our odorless powerhouse cleaner that can be used on any surface

  • Earth Clean is especially good as a degreaser if you have buildup of waxy products (citrus scent)

  • Force of Nature is a method of making electrolyzed water, which is a completely safe and natural disinfectant that can be used for hand sanitizing and cleaning all areas in your home that can tolerate water!  They have a line of reusable bottles and travel-size sprays that are great for the environment.

  • Vinegar-based cleaners also work, however make sure that they are safe for your shower surface first (for example, they should never be used on travertine or marble, both of which are a type of limestone that can be damaged by acids). 

Air: Of course, you can’t eliminate air from your bathroom, and some molds are even anaerobic anyway (meaning they can survive on little to no air!).  What’s best is if you can change out the air as much as possible, sweeping away excess humidity and mold spores with it.  This is what a good bathroom exhaust fan is for: get the air moving!  Professional restoration companies do the same when they bring in big blowers: air movement speeds up the drying process because it promotes evaporation of water from all the surfaces.  Check out our article on how to check if the size and venting arrangement of your bathroom exhaust fan is optimal.  Getting members of your household to use it is another feat, however this can be automatic if you have an electrician wire the switches together so that the vent always comes on with the light.  Also, here’s another way to “condition” the air in your bathroom to avoid mold:  use a Germ Defender 24/7.   The ions created by the Germ Defender not only destroy mold and its spores in the air and on surfaces, it also sanitizes surfaces after they’ve been contaminated by the dreaded toilet plume.  

Heat:  Anyone who’s cleaned out a refrigerator knows that heat is not a pre-requisite for mold to grow!   However, it certainly makes a more hospitable environment for many molds to flourish.  Using your bathroom exhaust vent after showering  certainly helps reduce moist heat in the air.  

There are also many products worth mentioning that can keep your shower cleaner for longer.  

  • That pink slime that forms around your drains and shower corners can also populate the shower head, and it’s not good!  It’s actually caused by the bacteria Serratia marcescens, and can cause urinary and respiratory tract infections, which are especially problematic for people with immune problems. (Not So Pretty in Pink: What Is That Pink Slime in My Bathroom?)  There are other types of harmful bacteria in there as well, such as NTM (nontuberculosis mycobacteria).  Soaking your showerhead to clean it does not fully resolve the problem, because it does not dry out. If you can’t seem to get rid of it from the shower spray head, swap it out with one of these:

    • Shower Clear Shower Heads ($299-319) are made of brass (a naturally anti-microbial material) and are made to open fully to dry out between uses. 

    • This showerhead by Niagara ($28) features a removable faceplate that will also allow the showerhead to dry between uses.

    • AquaDance Antimicrobial has antimicrobial rubber tips that also prevent minerals from clogging the spray jets.  (It uses the material Microban, which does contain quaternary ammonium compounds or “quats”, however).  

  • Thankfully, there are several good changes happening in the shower curtain market.  For one, PVC shower curtains are being phased out and replaced with PEVA or EVA.  Polyvinyl chloride, or PVC for short, is that plastic with the strong smell that emits toxic VOCs which can disrupt hormones, liver and kidneys, and your nervous system.  EVA (ethylene vinyl acetate) is a safer alternative to PVC, but some EVA contains formamide.  Formamide is used to make the foam soft, but it’s considered to be carcinogenic and a developmental toxin that can be absorbed through the skin. If you’re considering purchasing one of these doors made from EVA, it’s best to contact the manufacturer to ask if their product contains formamide. (hellonaturalliving.com)  

    • Sustainable Jungle also gives many organic and sustainable options to plastic shower curtains!  

    • Check out how I used TotalClean, our non-toxic all purpose cleaner, to clean the pink stains off the hem of my shower curtain.

  • And finally, what about your washcloth?  Experts say it’s a good idea to use a new one everyday, or at least several times a week.  Since it’s usually hanging in the moist shower, washcloths and scrubbies take a long time to dry, allowing microbes to grow and establish in the fibers.   

Since bathrooms are among everyone’s least favorite rooms to clean, and showers and toilets certainly also near the bottom, I’m liking the concept of wetrooms more and more.  Wetrooms are waterproofed bathrooms (at least all of the floor and some distance up the walls) that can be wetted and cleaned all in one go.  If you can’t do that, at least make your cleaning tools easy to use and accessible:

  • This Turbo Handheld Sprayer by Clorox ($50) eliminates the tiring pump, pump, pump of handsprayers.  Used with non-toxic cleaners like we suggested above, this could be a game-changer!  We don’t recommend the Clorox Turbo (or Turbo Pro) however, because it uses alkyl dimethyl benzyl ammonium chlorides, which can have asthma, respiratory, reproductive and developmental effects according to the Environmental Working Group.

  • E-Cloths Shower Cleaning Kit ($15) requires only water to have a sparkling shower.  Once you’ve cleaned it, use these two cloths on a regular basis (with no chemicals) to keep it clean.

  • The shower squeegee is a good way to remove water from the glass surfaces, but what about all the corners, curves and floor area?  If you thought about this before designing your bathroom, you might install an Airmada Air-Jet Shower Drying System.  It directs compressed air through special nozzles on the walls and ceiling of your shower, and can operate on a timer so that without your effort, water is removed from the equation and mold doesn’t have a chance to grow.  Another perk is that everyone can walk into a dry bathroom, no matter how many people have showered before you.  Now that is a great use of technology!

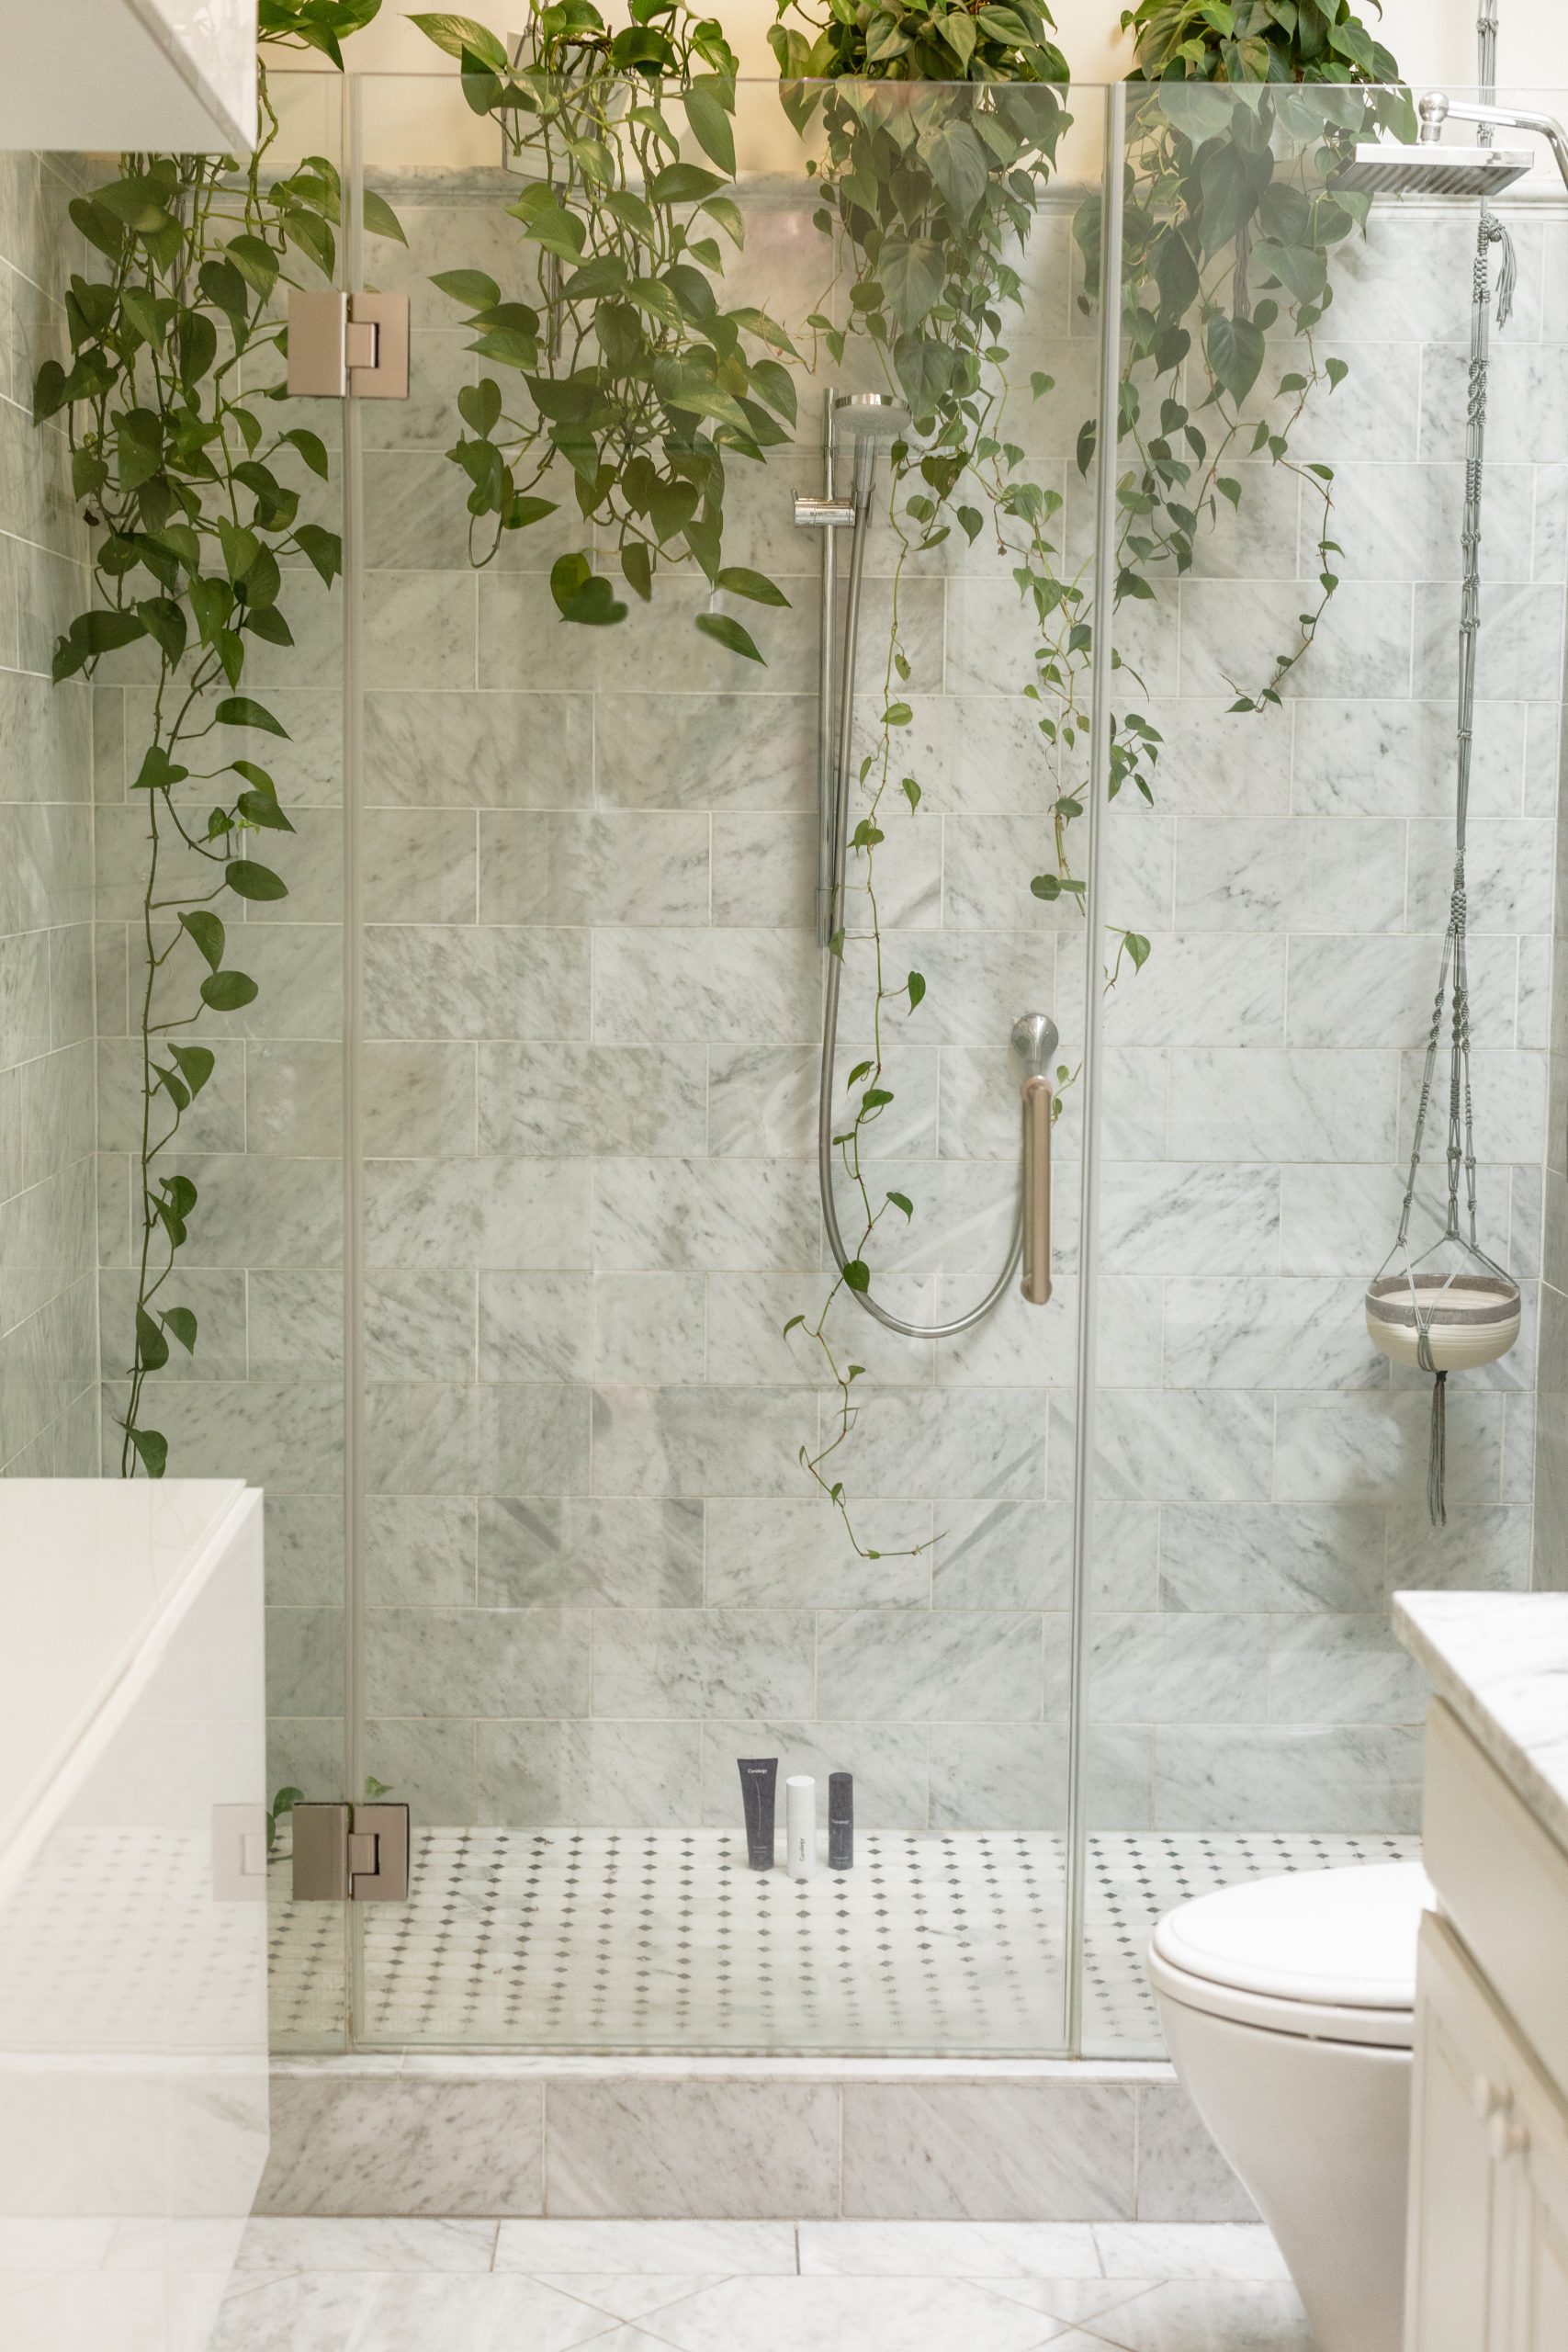
Photo by Curology on Unsplash

Enduring the Rainy Season

Enduring the Rainy Season

Many kinds of climates may exist in your state, from hot and dry to cool and humid, depending on your elevation, weather patterns, proximity to water, etc.  Although mold can grow anywhere (even in the desert!), more water definitely means more mold.   Your “rainy season” can come in January or July…but it matters most that you are ready for it and know what to expect!

Taken from somewhere that REALLY gets their share of rain, in the Philippines it is common for people to get sick during the rainy season and even while transitioning from one season to the next.  The following advice from the Philippines could go a long way in the US, as well!

  1. Pack your rain gear.  An umbrella is a must on days that it might rain, which includes some that start out sunny!  We’re not saying that getting wet automatically makes you sick, but here’s the connection: wet clothing can lower your body temperature.  Lowered body temperature causes the blood vessels in the nose to constrict, which in turn limits the number of white blood cells that can come to your mucous membrane to fight off infections.  This is the type of lowered immune response that leaves you susceptible to viruses and microbes!
  2. Warm up quickly after you get wet by taking a warm shower, or at least changing into warm dry clothing.  Making a habit of washing your hands after traveling also helps!
  3. Drink lots of clean water!  This is another part of keeping your body’s immune system healthy.
  4. Use mosquito repellant: It seems like new mosquito-borne diseases are discovered every year, so if you’re going to be outside, make sure they don’t target you by applying a non-toxic repellent like Wondercide Insect Repellents
  5. Make sure that mold is not creeping into your home with water intrusions.  More water outside running over your home can lead to small or major leaks, which can go undetected if you aren’t vigilant!  Keep bedroom doors open for ventilation and check unused rooms at least weekly for any signs of leaks.  You may want to also leave ceiling fans running to increase air circulation, which has a drying effect.  Mold spore counts will increase outdoors during the rainy season, but you can keep them down indoors by:
    1. Using a HEPA air cleaner:  Medify has a great selection of air purifiers that are simple to use and a good value for the size of room purified. 
    2. If you believe that mold spores are increasing in your home’s air, there are several ways to deactivate them. Plugging in a Germ Defender, Upgraded Air Angel Mobile or installing a Whole Home Polar Ionizer, all of which use bipolar technology, kills mold in the air and on surfaces. Alternatively, Air Purification Candles actually lower the spore count.  They don’t have fragrance so you don’t have to worry about nasal irritation.  You can check out our article on them here!
    3. Keep a close eye on humidity levels in your home with these inexpensive humidity sensors–place them in several rooms so you don’t have to look too long to know what’s going on with the humidity!  If you see it creeping up, it may be time to research dehumidifying settings on your HVAC system or add a dehumidifier.

Your environment may make you feel like you’re living underwater, but do your best not to let it affect your health or the health of your home.  Where there’s moisture, there’s life–just make sure it’s the beneficial, beautiful kind by preventing mold  and microbe growth.

Waterproof wall coatings: should you use them in your basement?

Waterproof wall coatings: should you use them in your basement?

As a followup to our article on Getting the Basement Dried Out, and in response to customer questions, I thought we should talk about sealing basement walls.  There are some really good products like GAF Hydrostop, UGL Drylok Extreme, Koster, Xypex and Sani-Tred to name a few.  These kinds of coatings can definitely stop moisture and are relatively cheap compared to the other measures I’m going to recommend here, but the sad truth is that they’re usually only a temporary stopgap measure if proper drainage is not in place.  The building science experts have determined that the basic rules for water management in buildings are:

  • Don’t trap water in building materials or assemblies.
  • Allow materials and assemblies to dry to at least one side. (energyvanguard.com)  

In the words of expert Joe Lstiburek:  “Waterproof coatings are not bad; they are not, however, a substitute for an adequate drainage system.” (buildingscience.com) The reason is that waterproof coatings act as a vapor barrier, and applying them to the inside of your basement is not a good thing.  

Without proper grading and drainage, your basement is basically a hole in the ground where water IS going to collect.  Construction of a house with a basement doesn’t begin with pouring the basement; it begins with preparing the ground so that it slopes and drains away water, which is the enemy of all the precious building materials in the home.  If your home was not graded/prepared properly during the construction phase, here are the ways that you can get the water flowing in the right direction (down and away from the house!)

  • If you have a dirt floor in your basement, cover it with polyethylene to seal the moisture below it.  You don’t want moisture and possibly radon continuously seeping into your basement air space from the dirt).  If you have a bit more in your budget, dig out some of the soil first so you won’t lose ceiling height. Then install a layer of crushed stone, a horizontal layer of rigid insulation (plus some vertical insulation at the perimeter), a layer of polyethylene, and a concrete slab over it all. (greenbuildingadvisor.com)
  • Check/install roof gutters:  Gutters are the first line of defense in routing water away from the foundation, because instead of pouring directly down around it, water is directed away from it.  Ideally, the gutters will drain to areas 10 feet away from the house.  If you have gutters, make sure that they and the downspouts are not plugged up with leaf debris!
  • Check/adjust grade around your home: if you have an older home, many times the soil around it has built up over the years with mulch, grass clippings, and vegetation so that it doesn’t drain properly.  A good slope to aim for when grading land extending out from a house foundation is about 6 inches for the first 10 feet (that translates to a "slope" of 5 percent). This article tells you how to determine whether your lot already has this slope, or you need to do some work to get that slope.  
  • If you can’t grade the area with a rake, shovel and wheelbarrow and you’re going to hire an excavator, then it’s worthwhile to dig down to the footers and install gravel and a perforated drainpipe, so that any water that drains down the wall will drain down and away from the footers.  If you are doing this, THIS IS THE BEST TIME/AREA TO USE A WATERPROOF COATING: on the exterior of the wall! 
  • If your home has nice patios, walkways, etc. around it and you don’t want to tear them up, then go for an interior french drain, so that water around and under the slab can be pumped away.  It’s probably a job you’ll want a contractor to handle, but it’s best if you know what to expect and that the contractor outlines his plan, before work starts!  According to Green Building Advisor, a trusted building science site, here is how they would install a french drain: 
    • Cut a trench about 8 inches wide and at least 8 inches deep at the perimeter of your basement slab, near the wall.
    • Put some crushed stone in the trench, and some perforated 4-inch pipe, followed by more crushed stone. The pipe can be installed level or slightly sloped, and should lead to a sump installed in a corner of the basement.
    • Install a sump pump and connect the pump’s discharge pipe to a distant drywell, to daylight far from the house, or (if permitted by your local municipality) to your sewer drain. 
    • Once the French drain is installed, the concrete slab can be patched.  Before patching the concrete, however, you may want to install a tee in the 4-inch pipe, and connect the tee to a solid 4-inch riser pipe that extends through the roof. This riser pipe, along with a properly sized inline exhaust fan installed in the attic, are the essential components of an active radon mitigation system. Such a system depressurizes the air under a basement slab, and provides an important side benefit: it helps keep your basement dry.  (greenbuildingadvisor.com)

If you have done these things and have a condensation problem on the walls, it’s still not time to break out the waterproof paint, because the condensation is likely because of temperature differentials.  Typically condensation will occur on the upper part of basement walls in the winter, when it’s cold outside and warmer and humid inside, or on the lower part of basement walls in the summer, when it’s cooler down below grade but the basement has warmer, humid air.  Check the wall to see if this kind of seasonal condensation is what you’re experiencing.  If so, this calls for permeable insulation that isolates the interior atmosphere from the cold walls, yet allows any moisture coming through the block to pass through.  .  

The best insulating materials for a basement are those that are permeable or semi-permeable such as expanded polystyrene (EPS) or extruded polystyrene (XPS), as these materials are less sensitive to moisture than other insulation types. However, EPS is preferred over XPS in our opinion for the following reasons (airfoam.com):

  • Off-gassing: EPS does not contain hydro-chlorofluorocarbons (HCFCs))
  • Loss of R-values: in tests XPS has lost up to 44% of its R-values and EPS only 6%
  • Water absorption: in tests XPS absorbed up to 18.9% by volume and EPS 4.8%  
  • EPS has higher vapor permeance (thus allows more water vapor to pass through) at about 1.2 perm versus roughly 0.3 perm for XPS for R-12 insulation boards.  Normally one would not think this is desirable as vapor is passing through to the basement interior, but this factor affects the foam board’s own potential to stay dry. 

The best place to insulate is on the exterior.  Exterior insulation is advantageous because it protects the wall from the cold soil so that condensation cannot occur on the wall and the wall can dry to both the interior and the exterior. Installation of exterior insulation is best done during construction, however it can be accomplished as a renovation if  great care is taken to prevent damage during back filling around the foundation. If you don’t plan on excavating to the footings of the home, opt for interior insulation.  It should be vapor permeable or semipermeable as well as “air tight” to prevent warm, moist interior air from condensing on the cold concrete or block wall. Some foam insulations such as EPS and XPS can satisfy both conditions if installed properly (including taping at the seams). (buildingscience.com)

The slab floor:  Once again, the best place to insulate the slab is under the slab during construction, however, if you’re renovating, then insulating on top of the slab is fine.  Because most of the year the slab will be colder than the interior air, it’s a surface on which condensation can occur. The best way to accomplish this is adding a layer of rigid foam insulation, 2 layers of plywood for support, and a permeable finish like wood, carpet or cork (see diagram below).

Source: (“The No-Mold Finished Basement”; greenbuildingadvisor.com)

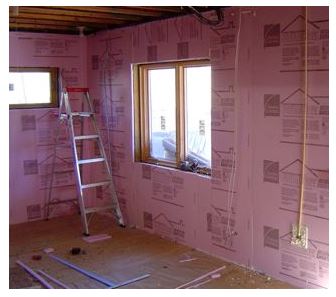
If you don’t have a need for a finished basement, you can still create a liking for pink (or blue or whatever color the rigid foam board comes in!) like this one:

Source: energyvanguard.com

A few final tips for finishing your nice, dry basement:  

  • Carpet should not be installed directly over an uninsulated concrete basement slab. Any moisture that condenses on the cold slab becomes a nice habitat for mold and other biologicals. (buildingscience.com)

  • Impermeable paints (waterproof coatings) should also not be applied to an uninsulated basement slab. Moisture that condenses on the cold, coated surface cannot be absorbed by the concrete. The thin film of water that forms on the surface of this floor is very slippery. (buildingscience.com)

In all of these improvements, the only vapor barriers we’ve recommended have been on the exterior of the block wall and under the slab, because water permeating through the wall should not be trapped on the inside.  It’s like choosing to paint the interior of a gypsum wall (drywall) with latex paint, with a pinhole plumbing leak behind it that keeps the wall moist.  Is there going to be mold growth on that wall?  Of course!  You won’t see it right away, but when the paint starts to bubble and peel, it will eventually rupture to expose all of that mold to the air of your home.  Similarly, in most cases waterproof coatings don’t have a place inside basements, because unless they are waterproofed on the outside, they need to constantly dry to the inside.  That’s actually a good thing, so in our opinion it’s best to resist the temptation of slapping on a waterproof coating to reduce moisture in your basement.  Go for the long-term solution: good drainage and insulation!

Photo by Adam Winger on Unsplash