Glowing under blacklight
Glowing under blacklight
I’ve heard that in the 1960’s, blacklight posters were all the rage. Glowing things are cool! How does blacklight actually cause things to glow?
“Blacklight” is an invisible form of light that operates in the ultraviolet range. Because light takes on a wave form, the frequency of the peaks and troughs in the wave are known as wavelengths. In the visible spectrum, reds and oranges have the longest wavelengths, and at the other end of the spectrum, blues and violets have the shortest wavelengths, meaning they have higher frequency. Ultraviolet light is not visible to us, yet exists beyond the violet shade. The wavelengths of ultraviolet light are grouped into 3 bands: A, B and C.
UV-A, with wavelengths ranging from 320-400 nanometers (nm), is the safest form of UV light and often referred to as Longwave UV. This kind of UV light is generated by Blacklight units (the dark purple fluorescent tubes) as well as UV LED flashlights. Black lights are considered safe for use in the home as well as theatres and night clubs etc. Most quality sunglasses will protect eyes against UV-A.
UV-B, at 280-320nm wavelength, is the one that can cause sunburn when over-exposed. It can also be used in the medical treatment of certain skin conditions. Most quality sunglasses will protect eyes against UV-B.
UV-C, at 200-280nm wavelength, is totally absorbed by the Earth's atmosphere, but also widely used as a germicidal sterilizer in hospitals.
Obviously, UV light has had good and bad press. As you may know, certain types of UV light are known to cause eye and skin damage and cancer. And certain types of UV light are used to kill microbes, making the air you breathe (or surfaces you touch) safer. We have a whole article on some of the ways researchers are using UV light to sanitize. In this article, however, we’re going to look at some of the more useful ways to use blacklight (UV-A) in your life–to literally “see” the invisible!
Blacklight makes some of the invisible, visible, because it illuminates items that fluoresce. These items contain exposed phosphorus atoms that reflect short wavelength UV light back to our eyes. For instance, paper shines under a blacklight because of the fluorescent chemicals added as a whitener. (Using Blacklights to Find Pet Urine)
Urine glows under UV light because it contains phosphorus.
Pet Urine: Unlike the synthetic fluorescents added to white paper, natural fluorescent substances such as dog and cat urine etc, do not glow brightly under UV. In fact, they are generally quite dim, so do not expect a supernova! You will be looking for patches a little brighter than their background; you’ll know them when you see them. Cat urine glows particularly well under a black light, as it contains high levels of phosphorus, but the intensity of the glow can vary depending on the animal’s diet and health. When examining soft surfaces like carpet and fabrics, remember that liquids can quickly soak down into them, so that not a lot of urine remains on the surface to “glow”. It’s also easier to find it:
- When fully dried, because liquid or damp urine will not glow.
- When new–the “glow” slowly fades over time as the urine ages.
If you do find “accidents”, try a cleanser that uses enzymes. You can read all about enzyme cleansers in our article. (Stain Detective Pro)
Rodent Urine: Rats and mice are incontinent and will urinate and defecate on the move, up to 80 times a day! This means you will be looking for a trail of urine droplets or streaks leading in the direction of travel. Urine and droppings are deposited where the rodents spend most of their time and where they travel. Amino acids in rodent urine will fluoresce, or emit light of a different color, when exposed to ultraviolet light. This makes it possible to see rodent, rat, mouse, hamster, guinea-pig or squirrel urine even in dark places. (Rodent Detector Pro)
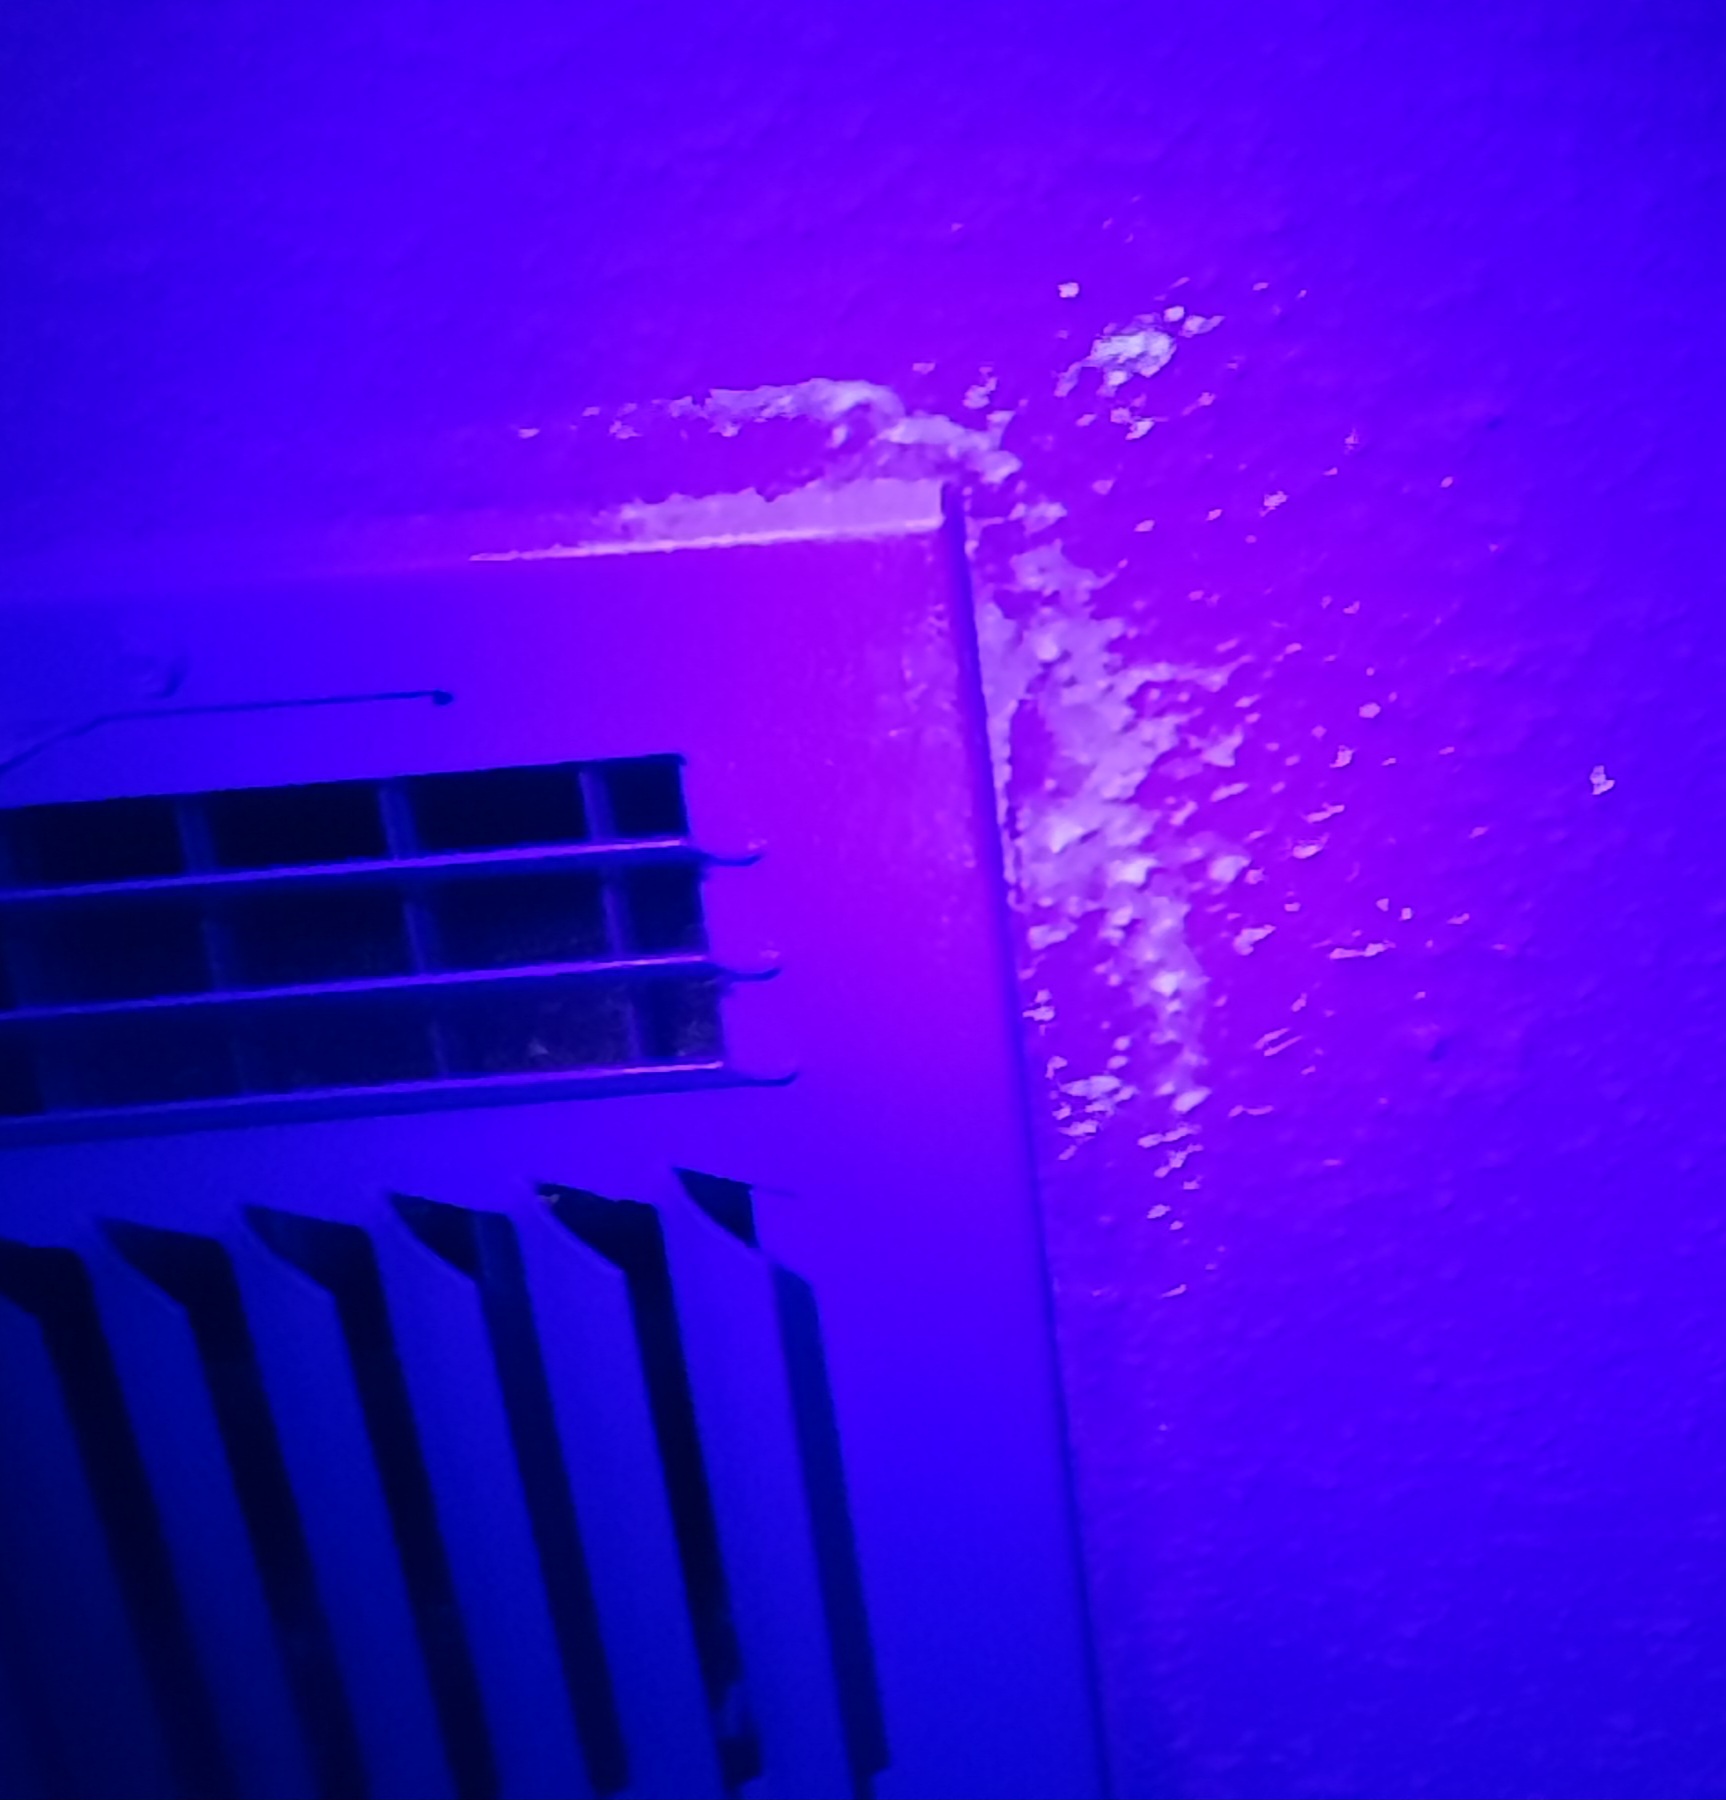
Mold often glows under blacklight. In this video, mold stains that are not visible in normal light are shown on the ceiling under blacklight. If you are not seeing stains in an area that has leaked before, or has a high level of humidity, the key may be to shine the light at an angle against the wall. You should shine the ultraviolet light closely along the sides of the suspected surface or walls. The angle of illumination will show the presence of fungus, however, some cleaning products also leave a glow, so be careful not to mistake cleaning residues for mold. (How To Detect Mold With A Blacklight)
Hand Washing: Blacklights make it possible to see if you are washing your hands effectively and make training on hand-washing easy! If you apply some UV Germ Grease (which simulates the way germs cover your hands; it’s just a clingy grease with glowing particles), wash according to this video and check them under blacklight to see if any of the grease remains, you’re more likely to get your hands cleaner after this training.
Here are some other interesting items you can get to “glow” in your home: (Got a new UV torch? Here are some things to shine it on)
- Tonic water – the quinine in tonic water glows blue
- Honey – the aromatic molecules in honey can glow green
- Turmeric root – the curcumin in turmeric glows yellow
- Eggs – a compound in eggshells called protoporphyrin IX can glow red
- Rocks, jewels and gemstones – lots of minerals glow under UV light
- Cash – banknotes have added photoluminescent details to prevent fraud
- Cleaning materials – detergents (including laundry detergents) often have photoluminescent molecules to make them easy to see
- Highlighters and dyes – fluorescence is a type of photoluminescence, so fluorescent markers and dyes will often glow under UV light
- Vitamins: Vitamin A and the B vitamins thiamine, niacin, and riboflavin are strongly fluorescent. Try crushing a vitamin B-12 tablet and dissolving it in vinegar. The solution will glow bright yellow under a black light. (16 Things That Glow Under Black Light)
- Antiques that have been repaired or touched up will glow or fluoresce differently in the area where the repair has been made.
- Insects such as scorpions glow bright green, and Harvestman (Opiliones, also sometimes called Daddy Long Legs) glow blue, as do certain other spiders.
Here are some tips about selecting UV blacklights:
- Although many people associate blacklight with a purple light, if you can see the light, it’s not blacklight, and the contribution of visible light diminishes the ability to “see” any hidden markings.
- The frequency of UV light emitted determines the quality of results obtained. There is a sweet-spot for UV which is between 365nm and 385nm. However, to manufacture LEDs capable of emitting in this frequency range is far more expensive.
- There are different types of lamps that are used to make UV light:
- Mercury vapor lamps are used in theaters and large spaces where it’s needed to project UV light over a distance
- UV fluorescent tubes or bulbs are smaller and more portable, with decent quality
- UV LED lights: these come in a wide spectrum of quality (wavelengths), but they are very portable and consume little energy.
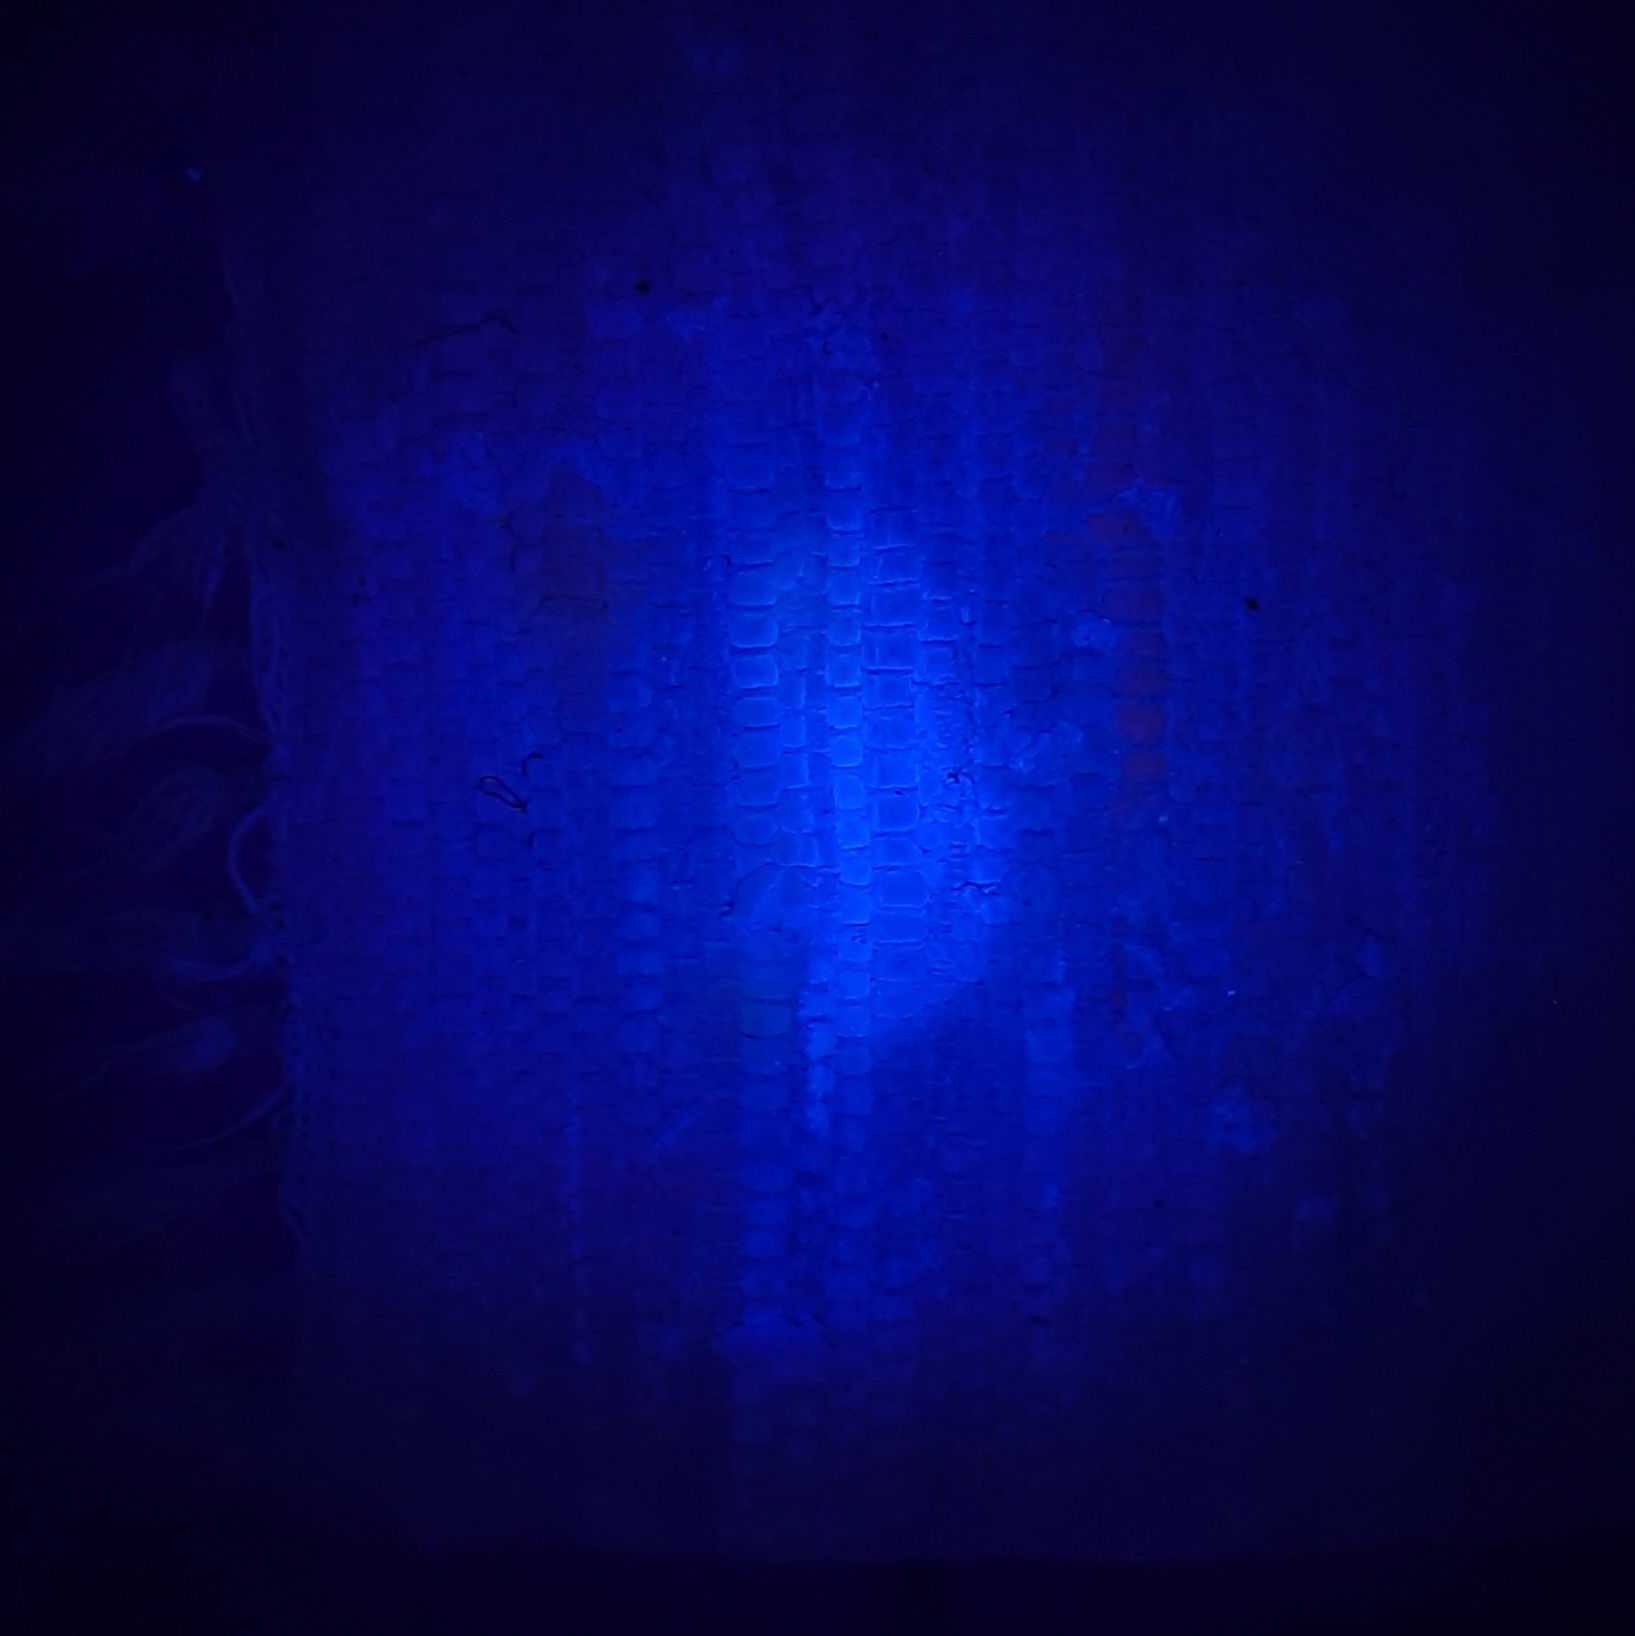
So....I went sleuthing one night with a small, inexpensive blacklight borrowed from a friend, and it works! First I looked around some registers I knew had sweated when I had an older, less efficient HVAC system, and there they were--old stains and mold that was not even visible in the daylight (I have some popcorn ceilings so shining the light at an angle really accentuates the stain). Next, I looked and saw a white patch where stains had been "touched up"--proof that not everything was stained or mold. Then, I found a pet stain in a small rug that had absorbed and was unnoticeable in daylight.
A small blacklight flashlight could be a cool science project for you and your kids, by not only finding things that glow, but eliminating the yucky animal pee and poo as well with enzyme cleansers. Remember that the wavelength (365-385nm) is important to get quality black light, and many cheap flashlights don’t fall in that range. Here are some lights that will give the best results for your detective work:
- uvBeast New V3 365nm MINI - Black Light UV Flashlight, $40: at 365nm wavelength, you should see no visible purple light but anything that glows should light up well. It’s rechargeable!
- LUMENSHOOTER S5 UV Flashlight, $70: This flashlight illuminates longer-distance so you can go sleuthing outdoors or in the shed. It’s also rechargeable.
- Glowtech blacklights, approx $31-43 excluding shipping. This UK company really knows their blacklights, they ship worldwide, and are also the creators of the hand hygiene training products.
Photo by h heyerlein on Unsplash


