Tag Archives for " flooding "

How to make your home less susceptible to flooding

How to make your home less susceptible to flooding

Weather forecasts for rain can strike fear in homeowners.  Different parts of the world are experiencing rainfalls that surpass a year’s average within just a few days, or even a few hours.  What can we do to lessen the chance of having to use mops, pumps, demolition and expensive contractors in the aftermath?  

There’s nothing like firsthand experience.  There is an area in Laval, Montreal that historically never flooded, yet in recent years received two “one-hundred year” floods from the Ottawa river.  Andrew Henry is a homeowner who fought very hard to keep his home from flooding for the 2nd time in April/May 2019.  He described his flood prevention/mitigation steps in a series of videos, categorizing them into three main parts:

  1. Keeping the river out of your house:  Sandbags and plastic sheeting are the primary defense for this, adding reinforcements to the back of the sandbag wall where necessary (sadly, they can fail if the water gets too deep).   You may want to keep plastic sheeting and tape on hand at the minimum if authorities in your area supply sandbags.
  2. High water table: Super-saturated soil around your foundation will seep in any cracks in the walls.  
    • In an emergency, you can dig down outside your foundation and set up sump pumps to act as temporary “french drains”.
    • You can also break the floor inside your lowest level at strategic points to install sump-pumps.   This involves a concrete saw and/or jack hammer in most cases, so preparation is key!  If you live in an area prone to flooding, it’s also wise to have spare sump-pumps on hand, along with tubing/piping for expelling the water away from the house, and plenty of extension cords. 
    • Have an emergency power source (small generator) to keep your sump pumps going even if the power fails!
  3. Drains inside the home: you can sand-bag them closed but ideally have sump pumps at the ready or installed in the drains.  For toilets, the best thing you can do is remove the toilet and install a toilet plug (see minute 1:00 in this video).  Andrew did not say it, but chances are that he immediately removed all carpeting/rugs from the ground floor (if he had rugs) in order to clearly see where any water comes in.

There are a lot of great tips in the videos of what he learns as he goes, and his determination pays off, and one month later he can remove the 8 tons of sandbags.  Other seriously flooded homes survived also!  See this house at minute 3:45

City planners and inspectors sometimes have good advice too.  Here is a helpful video from the City of Toronto that suggests the following:

  • If you have any trees running near your sewer line, it may be worth getting a plumber to scope the sewer line to see if tree roots have infiltrated or broken the line, which can cause backups of sewage into your home, even without flooding.  If you don’t have a sewer cleanout, this is also the time to have a licensed plumber to install one.
  • Foundations need to be maintained.  This kind of work includes:
    • Repairing cracks and gaps promptly.  If you have never used it, hydraulic cement is a great product.  You can use it to patch any visible cracks when the walls are dry, and keep the rest of the tub for emergencies, because it even works to seal water out when wet.  It sets extraordinarily fast (3-5 minutes) so you should only mix and use a small amount at a time. 
    • Regrading the soil around your home so it slopes away, not toward the foundation
    • Get a licensed foundation contractor to upgrade your foundation flood protection (see below)
  • Declutter your gutters:  Gutters are important because they direct water off the roof and through the downspout, away from the home.  If they are blocked by leaves and debris, water will pour over them and down the walls of your house.
  • Make sure that downspouts are directed away from the foundation, and discharge at least 2 meters (about 6 feet) from the foundation.

According to the Natural Resources Defense Council (NRDC), some ways to flood-proof your house involve researching flood plain maps before you buy your home (but with storms that break historic precedents, even that doesn’t always work), buying flood insurance, and considering relocating.  Of course, if you really like where you live or can’t move, they also suggest the following:

  • Install a sewage water backstop:  If your basement floor drain backs up after heavy rains, consider getting help from a licensed plumber to install backflow prevention valve(s) and other devices to keep overtaxed sewer mains from backing up into basements.
  • Changing your landscaping includes the following: 
    • Digging depressions known as swales to channel stormwater runoff away from your foundation.  Swales carry water in a non-erosive way.  They can have river rocks or water-loving plants.  
    • Converting concrete or asphalt driveways to gravel or brick
    • Using absorbent mulch can help manage heavy rain and reduce potential flood damage. 
    • Placing a rain barrel beneath a gutter downspout 

Although rain gardens can be used in dry areas to manage water runoff, they can also be used in flood prone areas to lessen the chance that storm drains will become clogged and overflow, leading to flooded properties.  They are depressions made and planted with water loving plants that can absorb large amounts of water and drain it slowly.  If you are able to motivate your neighbors to do the same, the effects are multiplied and can save thousands of gallons of water from pooling or flooding the neighborhood.  Here is a great video showing where and how to make a rain garden.

If grading your lawn and maintaining the gutters and downspouts is not enough to keep your ground floor or basement dry, you may need to have foundation work done.  This can involve setting french drains inside or outside the basement or ground floor, applying a sealant to the exterior of the basement walls, and/or a last resort, waterproofing the interior of the walls.  The reason we mention this as a last resort is because waterproof paint is not a replacement for good drainage–it simply can’t hold back a large amount of water for a long time (check out our article here).  Also, waterproofing should never be installed on both sides of a wall, because it needs to be able to dry out from one side.  Since foundation work is costly and intrusive, it’s best to get plans and quotes from several reputable companies before proceeding.   

Flood conditions can rise very quickly, so there is no substitute for planning and supplies.  Here’s to hoping that you are able to stem the flood/tide and keep your home dry this spring, and all year long!


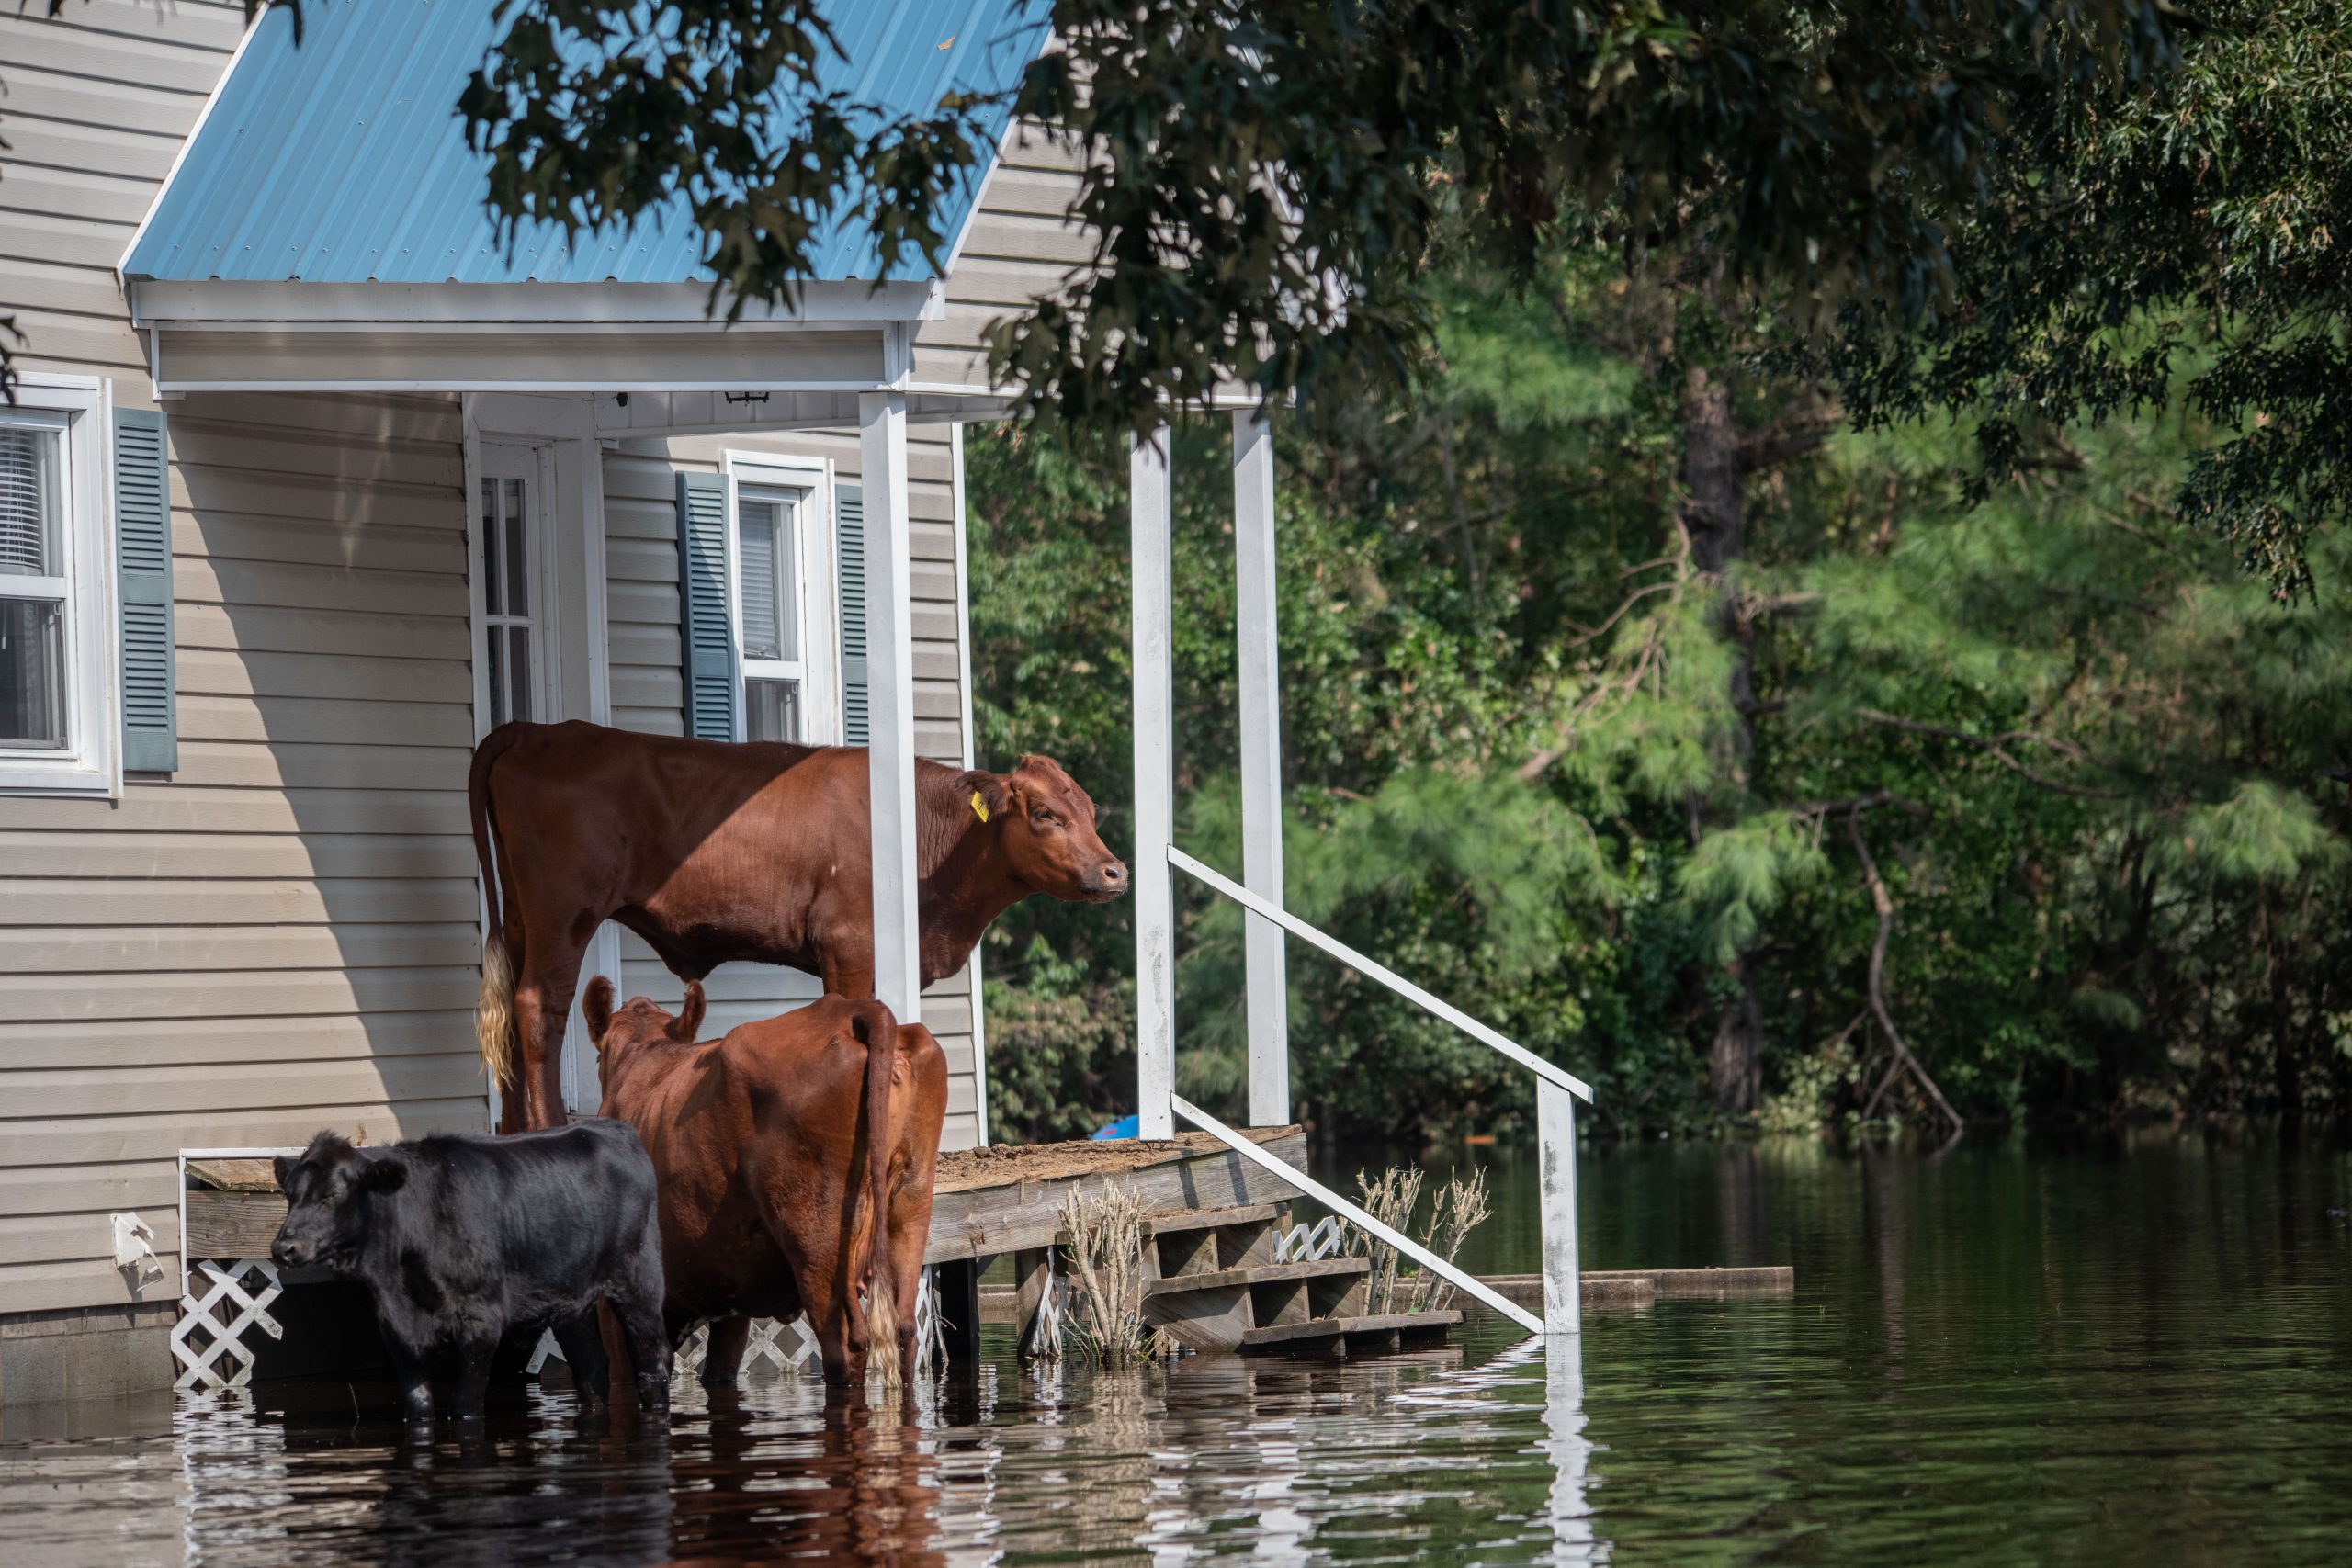
Photo by jim gade on Unsplash

Help! My basement has flooded!

Help!  My basement has flooded!

While some are suffering in the US from droughts, others are walking ankle-deep through water in their basement.  Unfortunately water in the basement is different from other areas of the home because 1) it doesn’t easily drain away because you can’t just “cut a hole in the floor”, 2) being below ground level means you may be already fighting ground water problems that are just looking for ways to intrude, 3) ventilation is typically sub-par, meaning that drying it out takes a lot of power equipment, not just opening windows!  It can be very daunting for a homeowner with limited renovation funds, but don’t turn a blind eye on a flooded basement, because the mold that ensues can quickly affect the rest of your home.

Call for help–immediately!

If your area was hit by a storm, chances are that a lot of other people have the same problem you do–they need restoration professionals too!  However, you can’t afford to wait 3 days after the water hits the floor, because mold can start to take root in your walls and furnishings only 48 hours after they get wet.  Here are some ideas for resources:

  • Family (of course!)

  • Neighbors (they probably need help too)

  • If your state officials have declared a state of emergency, the Federal Emergency Management Agency (FEMA) may be able to help.

  • The American Red Cross has disaster assistance services.

  • Local churches often set up assistance centers for homeowners.

  • Workers for hire often gather at local home improvement stores, but be wary of giving anyone without a contractor’s license a job in your home for safety and insurance reasons.

What needs to be done?  If you don’t hire a professional restoration service, you can use the following as a guide.

  1. First of all, don’t walk through any standing water if there’s a chance that electrical appliances sitting in it may be energized.  This presents a big problem if the circuit breakers for the basement are IN the basement, but do your best to disconnect power before walking through the water.

  2. If your basement sustained a sewage backup as part of the flood event, be very cautious about contacting/working in the dirty water, as open wounds can become infected by microbes from the sewage.  In any case you’ll want waterproof boots, goggles and gloves at the minimum!

  3. Open windows to the outside if it is low humidity outside–this will help with the drying process.

  4. Standing water has to go.  Small amounts of water can be picked up by a wet-dry vac (make sure you have the right type of filter installed for wet suction), but if you have a lot more water, you’re going to want to find a dewatering pump that doesn’t need to be emptied; it pumps the water outside via a hose (away from the house!).  

  5. Silt or mud may have accumulated on hard floors from floodwaters, making it slippery.   If you have any snow shovels or flat shovels and buckets, these are the tools you need to remove it. 

  6. Wet carpeting and padding has to go; it is very difficult to dry and successfully salvage large areas of carpeting, except for area rugs, which must be professionally cleaned as soon as possible (consider cleaning cost versus value).  From this point on, all wet materials removed from the basement should be piled near the road where waste management can pick them up, or if you will have to haul them yourself, on a trailer outside.

  7. Wet upholstered furniture and bedding (mattresses and boxsprings) have to go, because like carpet, it is too difficult to get the center of the upholstery completely dry. 

  8. If you have any solid wood furniture without upholstery, you can move it outside for drying and wiping down if the weather is good.  Use rags and a cleaner like TotalClean to remove dirt and let them dry in the sun.

  9. Walls: Remove all drywall and insulation below the floodline, as well as 2-4 feet up the wall.  This is because the drywall wicks up water, and the insulation behind it will be wet also.  The goal is to get the studs and all of the wall cavity dry.  If you have built-in cabinetry that has gotten wet (even an inch or two), we’re very sorry to inform you that it has to be ripped out, because there’s no way to completely dry the back of the cabinet.  🙁

  10. Once the wet materials have been removed,, and throw all your tools at the remaining moisture: we’re talking fans, heaters and dehumidifiers, as each will do a different role in drying.  Fans improve air circulation.  If the temperature is cool, add a heater so that relative humidity will go down and speed up drying more.  Dehumidifiers also lower the relative humidity.  According to Cleaning and Maintenance Management, a property restoration company, here is how we can understand the drying process: “Low relative humidity (RH) is necessary for drying, as moisture in materials and air seek equilibrium. The lower the RH of the air, the quicker the wet materials will give up their moisture to become equal with the moisture in the air. …Air movement is the workhorse of drying by displacing high RH at the surface of wet materials with lower RH. Circulation airflow moves wet air to our dehumidification systems (either mechanical or ventilation), allowing us to manage RH and water vapor in the air.” 

  11. If you find that musty odors have started to form, you can clear particulates from the air using a large HEPA filter with activated carbon such as our Cleanroom WindPRO 650, or if you don’t have the budget, make a Box Fan Air Cleaner, to which you can also add activated carbon to remove odors. 

  12. Plugging in  Germ Defenders and Upgraded Air Angel Mobile units will assist in deterring mold growth around the basement.

  13. Once everything is dry, it’s good to invite an experienced waterproofing/foundation company to inspect your basement to see if there’s anything that can be repaired or upgraded so that you (hopefully) will not have to go through such an ordeal again.  We have several articles you can use to educate yourself on waterproofing techniques: Getting the Basement Dried Out and a cautionary article: Waterproof Wall Coatings: Should You Use Them in Your Basement?  so that you will have background for a conversation with professionals on their suggested course of action.

Since “an ounce of prevention is worth a pound of cure”, if you are reading this before any flood occurs, check into preparing for such disasters by reading our article here.  As always, we are here to field questions or help with equipment, because flood restoration can be stressful and overwhelming.  Don’t give up!