Tag Archives for " damper "

Excuse me but your fireplace is open!

Excuse me but your window fireplace is open!

Heading into the winter heating season, many of us are thinking of cozy nights snuggled inside our homes, not the cold drafts that spoil the atmosphere in more ways than one–ahem, even our heating bills!  Drafts are invisible sucks on our budget, like “phantom” power leeches that use electricity.  The drafts coming from the fireplace are comparable to leaving a window cracked open.  In our article about how to keep the fireplace from polluting the house, we noted that the average household can save 14% on their heating bill by weatherstripping the fireplace.   It’s time to prepare for maximum coziness!

Working fireplaces have dampers, and these should work well.   Dampers are like “valves” that should be closed when the fireplace is not in use, to prevent outside air (and smoke particles from the flue) from coming back into our homes when we’re not using the fireplace.  However, dampers are not air-tight; they just don’t have the ability to block drafts.  Here are several other places to really air-seal your fireplace:

1) At the chimney cap: this requires you to get up on the roof or hire someone to do that.

2) Inside the flue with a balloon: the balloon, however, can shrink as temperatures get colder, or get punctured on a rough surface and leak.

3) At the hearth (bottom): this is the most physically convenient place, and can be easily removable for those times you want to use your fireplace.

Although the first two can accomplish air sealing well with the right products, #3 is actually the healthiest because the chimney and firebox (with smoke particles on their surfaces) stays separated from your house air.  

Here are some ways we’ve found to seal out those drafts all year long: 

If your fireplace is a bare opening in the bricks, like mine, this is the most difficult to seal but worth the effort.  Here is are two ways to do it:

Method 1: You’ll need: 

  • 4 pieces of wood (at least 1” square, larger is better) or metal tubing cut to fit the length and width of the opening (see diagram below)
  • Foam insulation tape to go around the frame in the opening
  • Glue gun and glue if adhesive on insulation doesn’t work well
  • Magnetic tape or velcro tape
  • Optional: 1-2  tension rods will help stabilize the frame if the wood doesn’t fit snugly.
  • An insulated blanket or piece of plywood cut fit over the frame.

You’ll want to thoroughly plan out how the frame will fit together before cutting your wood or metal to length!  Here’s how I cut mine:

Then, add insulation to the perimeter of the pieces using the adhesive on them, or a glue gun, and fit the wood snugly back into the opening–you may need to re-cut the pieces to accommodate the increased thickness due to the insulation.  

You can add 1-2 adjustable tension rods across the opening or up and down for added stability.

Next, add magnetic tape or velcro to the front of the wood pieces in order to attach the insulation.  You can use all kinds of materials to cover the opening and get creative!  Just remember that there will be a temperature differential in winter or summer, so adding some insulation to the back of the material makes it even more energy efficient.

  • Foam board or cardboard (if cut to fit snugly, no tape is needed to secure it in the opening)

  • Bed blanket with extra insulation glued or stitched to back or inside

  • Old electric blanket with wire removed and extra insulation added inside (stitched in place)

  • Plywood

  • Drywall

Of course, if you decide to use the fireplace, remove ALL of these materials and store them away for re-installing later. 

Method 2 involves taking a baby or pet gate and setting it to firmly span the opening, then cutting a foam board or cardboard to fit exactly over it (you can cover the foam board with wallpaper or fabric).  While this method can be sturdier and quicker to do, it does involve finding an unused gate and cutting the foam very carefully so that it seals the opening. Alternatively, you could cut a used foam mattress topper slightly larger than the opening, and squeeze it into place to cover the gate (again, covering the foam with any decorative material). 

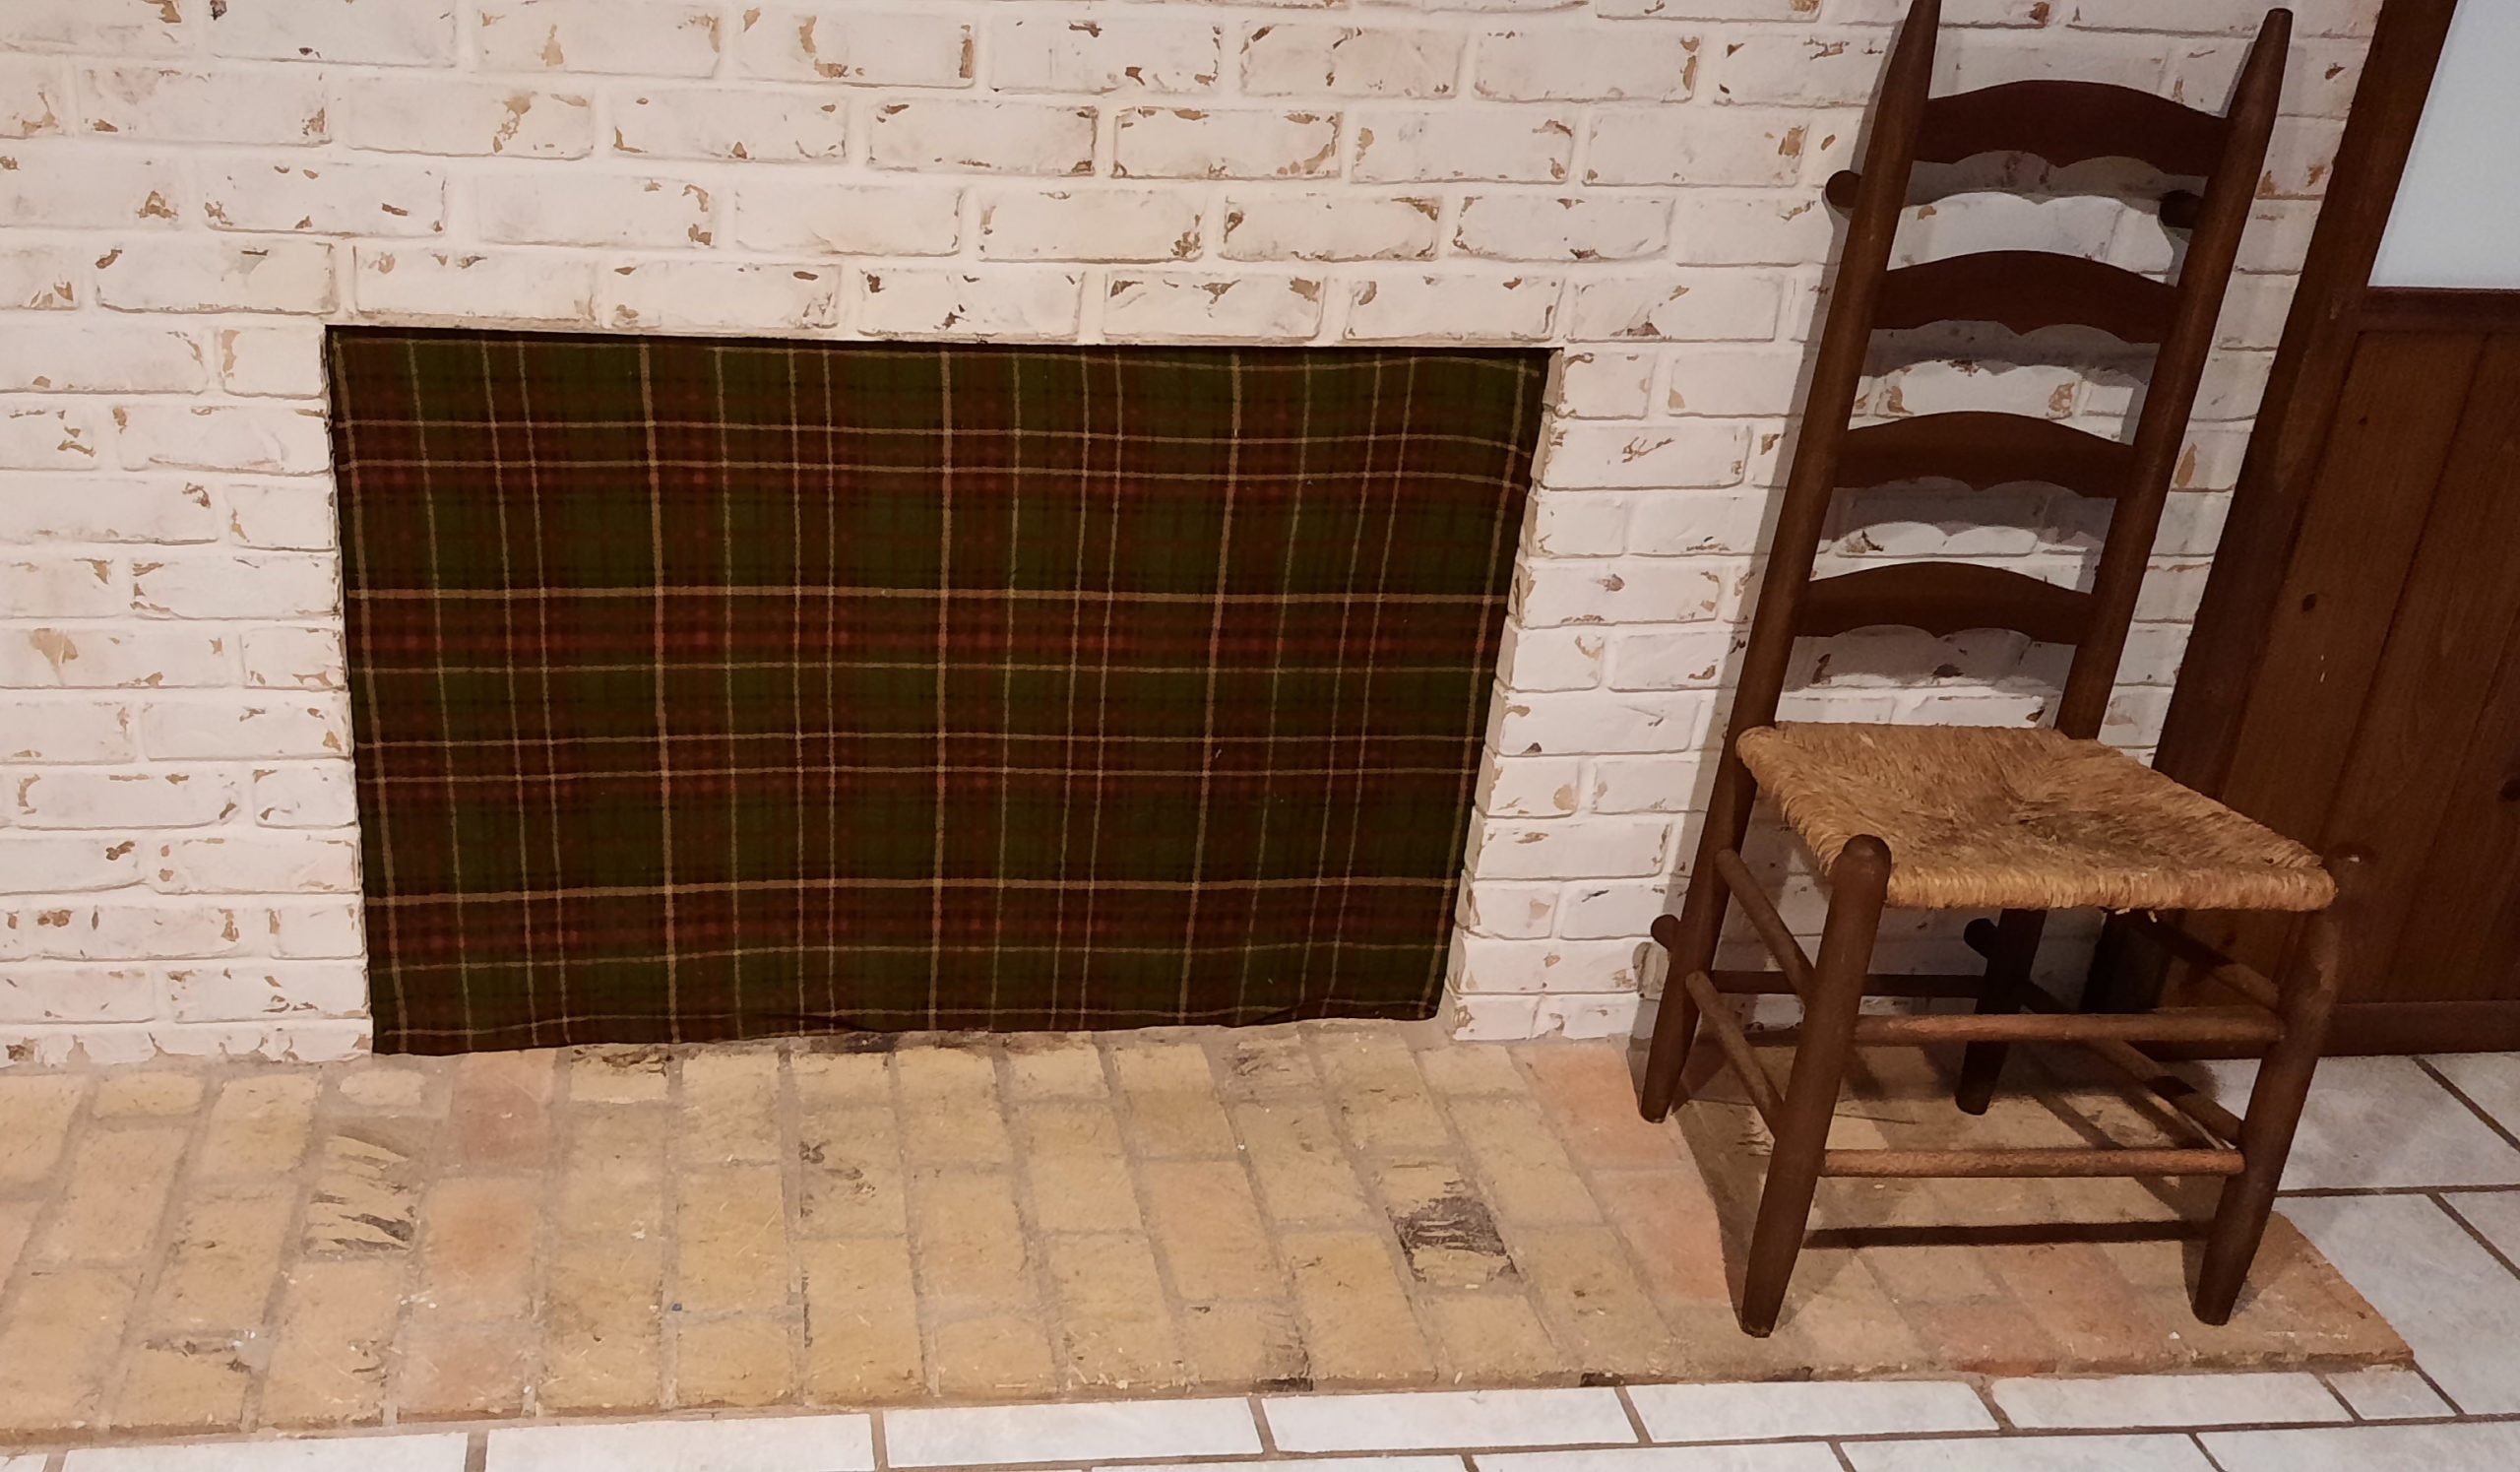
Here’s how my fireplace draft blocker turned out with a fleece blanket, 2 sheets of cardboard glued together, and a staple gun (admittedly I could have stretched the fleece a bit more or made a border for more visual interest):


Voila!  Just sticking my head into my fireplace one time during this project and smelling the lingering smoke smell made me think, why didn’t I do this sooner?  Drafts and smoke be gone all year long!

Spread the warmth from your fireplace…not the air pollution!y

Spread the warmth from your fireplace…not the air pollution!

With temps turning colder and guests coming over for the holidays, I thought to myself, wouldn’t it be nice to start a fire in the fireplace soon?  With Thanksgiving a week away, I decided to make sure that it would be a joyful experience and not a regret!  Here’s some tips for getting your fireplace and wood ready.

The fireplace:

  • If you haven’t had the chimney cleaned in several years after using it, call a professional for this job and make sure they use HEPA filters in the vacuum.  
  • If you are not having your chimney cleaned (if so the cleaner can do this check), check that the damper is working properly:  Get some safety glasses on and a flashlight for this one.  Moving your head underneath the fireplace opening, use the lever handle to open the damper and make sure it stays open when you release it.  Hopefully you do not have the surprise of wildlife or a lot of debris being released when you open it!  Close it again until you get ready to start the fire, making sure that it closes fully and seals (see next point).
  • Sealing the fireplace damper when the fireplace is not in use is really important.  Inadequately sealed fireplaces are noted as being one of the worst air leakage sources in the home. According to the D.O.E.3, by weatherstripping the fireplace, the typical U.S. home can reduce air leaks by 14% or more. (hearth.com)  Here some ways of sealing your chimney, some of which would be better avoided:
    • Top mounted chimney dampers don’t seal the chimney space off from your home, meaning that the combustion products and cold (or warm) brick is still exposed to your air.  These aren’t highly recommended.
    • Plugs are inflatable devices that seal off the chimney when it’s not in use.  The problem is that they can deflate with colder temps, allowing air to leak through, causing it to need to be reinflated sometimes.  Sometimes the product itself leaks. 
    • Glass doors don’t adequately seal off the chimney, even though they look nice.  The solution: a magnetic, insulated cover will stop the drafts if your fireplace doors are sealed to the masonry.
  • A grate is really helpful to help your fire burn cleanly and not smoke too much.  Why?  A grate gets the wood up off the floor and allows air to circulate under and through the logs.  (This is the key to those new smokeless fire pits–air holes along the bottom of the fire pit get adequate combustion air to the wood!)  Check that your grate is sturdy.  If it is corroded or broken, take it to a welding shop for repairs.  You don’t want a pile of logs shifting and rolling or throwing a cascade of sparks when you’ve already started your fire!

The wood:

  • Only burn wood that is completely dry, which usually means it was cut and stored over 6 months ago.  Only burn hardwood,
  • Don’t buy firewood a long distance from your home.  Although it may look clean and dry, wood that is harvested over 50 miles from your home may have species of pests (eggs and insects) that are new to your area and by transporting them, you could unleash an invasive pest to the trees in your county. (Forestry Commission
  • Be selective about what kind of wood you burn indoors.  Stay away from wood with a lot of resin, such as pine and spruce, because burning it forms creosote that can cause a chimney fire.  Never burn treated wood or particleboard, as these release toxic fumes. (Family Handyman)
  • It's important to store all firewood outdoors until you're ready to use it, because firewood will naturally have some mold on it.  Storing it outdoors not only keeps the mold spores from entering your home but it also reduces the risk of spiders, ants and other unwanted insects from coming inside as well.  (firewood-for-life.com)
  • If you encounter wood with a lot of visible mold, it’s best not to bring it inside at all!  If the mold is on the bark, you can try to knock the bark off with a hatchet or hammer.  Remember, mold spores spread easily through the air and disturbing a mold colony just by moving the firewood (and stacking and then tossing it into a hot fireplace) will release millions of spores into your home!

What about firestarters?

  • Firestarters are easy to buy at the hardware or grocery store, but it may be harder to determine if their ingredients are safe and non-toxic.   In a 2014 study, burning synthetic firewood logs increased breast cancer risk in women by 42%.  Wood and synthetic logs are sources of polycyclic aromatic hydrocarbons (PAHs), which cause mammary cancer in animal experiments. Both contribute to residential air pollution, but researchers found that only the synthetic logs were found to be associated with an increased risk of breast cancer.
  • If you have any concern, take the safe route and make these firestarters easily from cardboard egg cartons, wax and sawdust (great project with your kids!)  The only caveat I would add is not to use just any candles for wax; paraffin candles are made from petroleum products, and soy candles are from hydrogenated oils that usually contain some paraffins.  If you can find it, unscented beeswax is the best!

Test it out! 

  • Keep a fire extinguisher nearby.
  • First and foremost, make sure the damper is open and any plugs or stops are removed before starting a fire.  Use your safety glasses when looking up into the chimney!
  • Always clean out cold ashes from a previous fire before starting a new one.  If you use your fireplace frequently, an ash vacuum is really helpful and speeds up the job.  Don’t use just any vacuum to suck up ashes, as vacuums without a HEPA filter will blow them all over the room!
  • Prime the flue: this means getting a flow of air going up the chimney.  The cleanest, simplest way is use a hair dryer on the hot setting, or a blow torch: just hold and point it up the flue for a few minutes. 
  • Place a few firestarters or balled up newspaper under the grate and some kindling (small pieces of wood) on the grate.  Start the fire with a long-handled igniter. 
  • When the kindling is burning well, place a few logs on the grate.
  • Does your fireplace smoke? (does smoke roll out of the top of the opening into the room?)  If so, the opening may be too large in relation to the flue, causing air to stall at the top of the firebox and allow smoke to come out into the room.  Here is a great video explaining the concept and how to fix it (or buy the right smoke guard and screen if you’re not a welder).  A smoke guard is a strip of metal that extends from the top of the opening down into the fireplace 4-8” to make the opening smaller and improe draft.  This article tells about an aluminum foil trick on how to size the smoke guard before you buy one, plus other reasons the fireplace may be smoking.
  • If there’s no smoke coming into the room, add more logs slowly, making sure to place them with good air flow from below. 
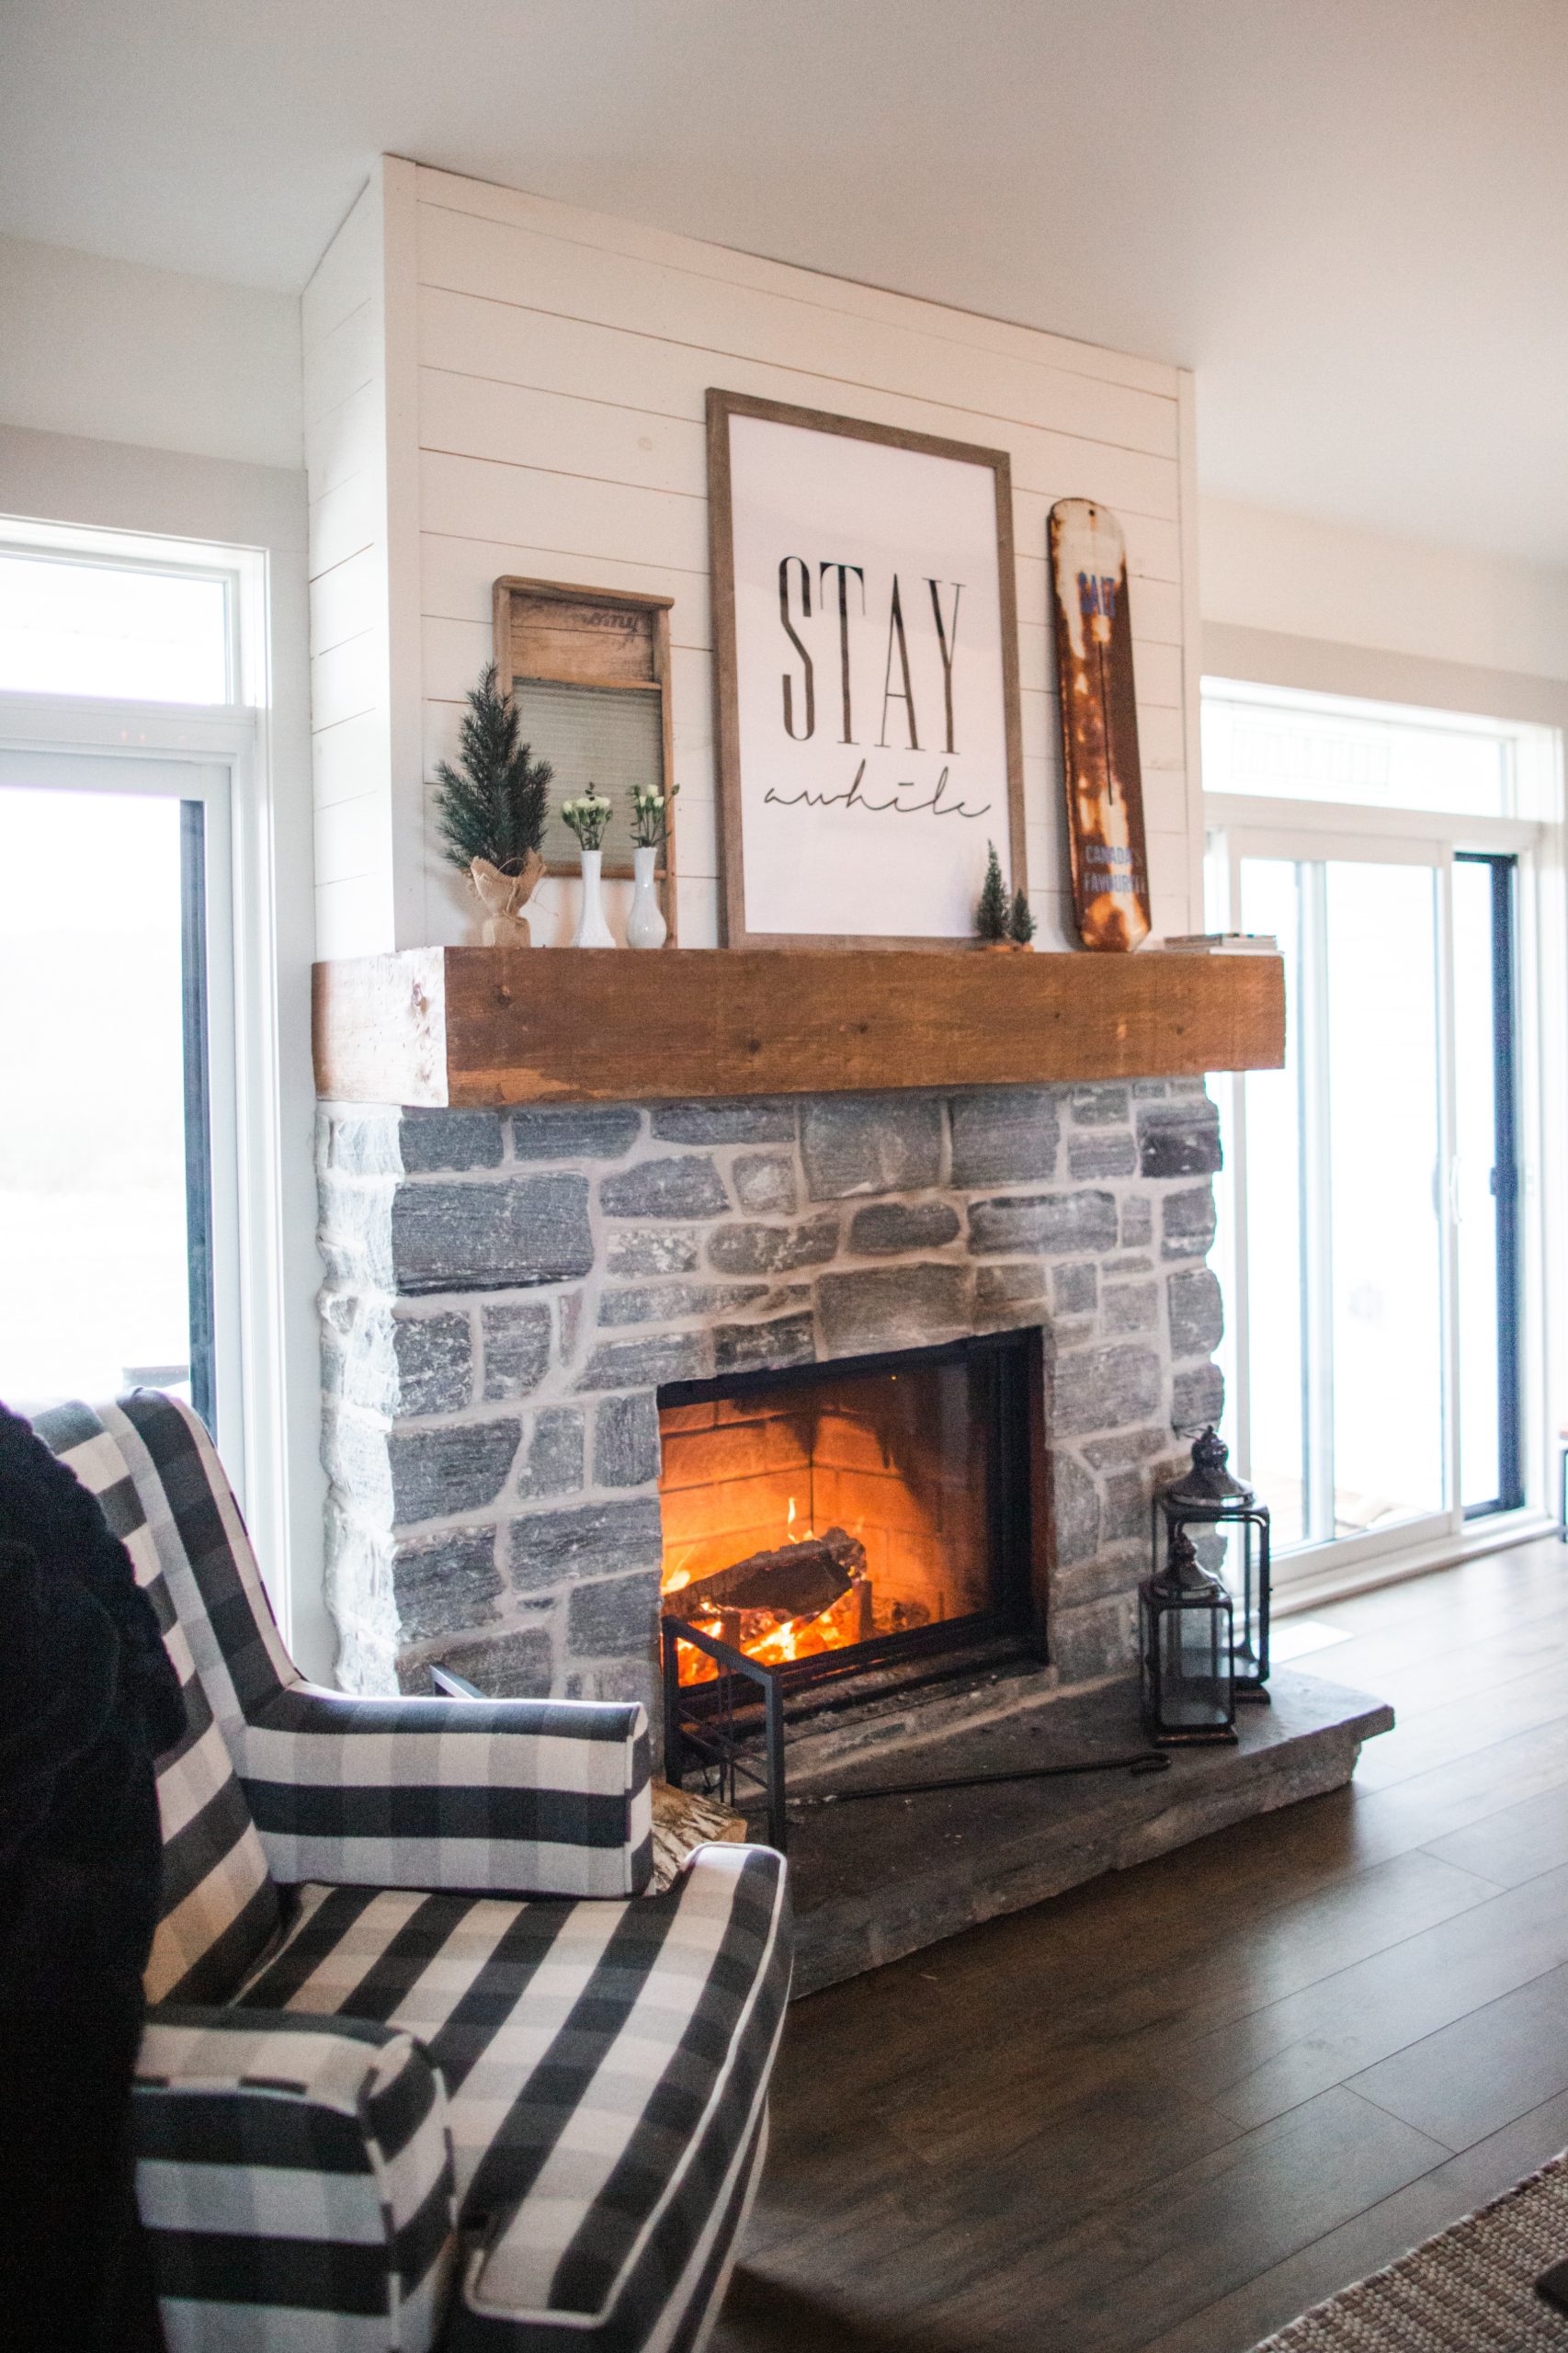
Fireplaces are not the cleanest or most efficient ways to heat your home, but the fireplace is here to stay in American homes because of its tradition and ambience.  For more tips on upgrading its efficiency, check out our other post on fireplaces here.  We wish you warm and cozy memories snuggled in front of your (safe, clean-burning) fireplace!