Finish Your Walls with Limewash for Style–and Health!

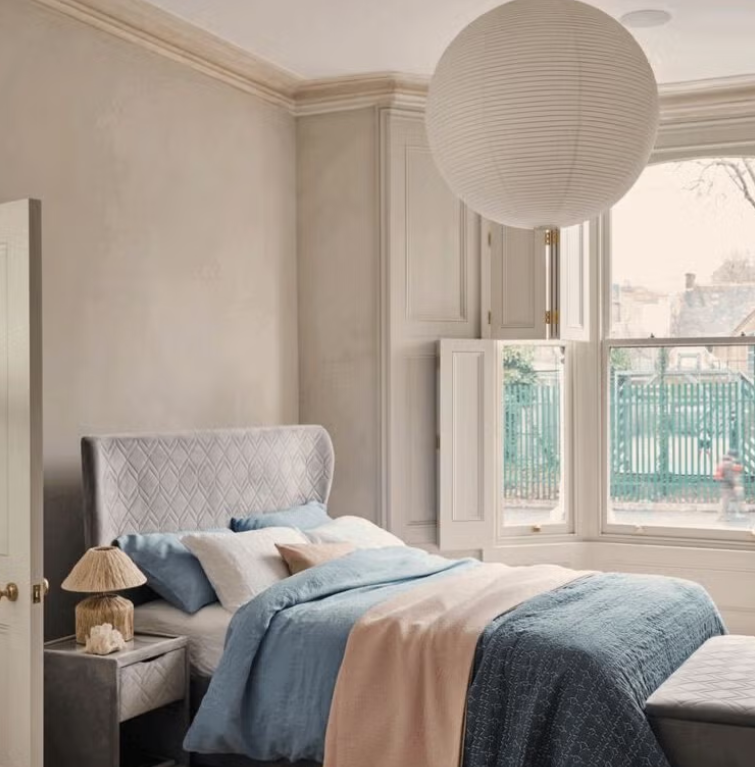
Limewashed walls are soothing, calming and pleasing to look upon. This finish has a texture and lightly variable color that would take a lot of artistry to achieve with any regular latex paint. In addition, lime is an air purifier while it’s wet, and it’s non toxic; it produces no VOCs. (We also discuss the mold-remediation and prevention aspects of using it for a primer here). It does take a bit of work to apply, but the aesthetics of limewashed walls are amazing! You can buy limewash pre-mixed, or make your own.
That said, I’d like to introduce or remind you of an old, true rule: the Good, Fast and Cheap Rule. You can pick only two of the following:
- Good
- Fast
- Cheap
For example Good + Fast is not Cheap. Fast + Cheap is not Good. Good + Cheap is not Fast. Think about it and you’ll realize it applies to many areas of life, not just renovation projects! In this case, you can make Limewash Cheap. It’s a Good recipe that turns out well. However, it takes some time to properly mix and apply it, therefore it’s not Fast. Making and applying limewash should cost less than $50 and make LOTS of limewash.
As I mentioned, you can also buy limewash pre-mixed; Color Atelier is a highly rated brand for pre-mixed limewash paint. According to the manufacturer, one gallon ($98) will cover approx 400 sq. feet, and normally two coats are advised (total $196). It still requires a Primer (same with making your own limewash) and optionally but optimally, a Sealer to protect it. Therefore, you just need to decide which two aspects of Good, Fast and Cheap appeal the most to you!
“The Sorry Girls” have a really good tutorial and video on making your own limewash. A quick science lesson is given in the video at minute 3:25 (or read our article). For best results, be patient and follow the directions and steps as closely as possible!
Photo from House Beautiful


