Put it on your “To Do this Week” List: Replace Your Washing Machine Hoses

The first time I left my newly-purchased house on vacation, I was super-paranoid: What if someone tries to break in? What if there’s a storm and a tree falls on the roof? What if a water line breaks and floods the bottom floor? I took some precautions (asked neighbors to keep an eye on it and shut off the water to the whole house) and enjoyed my time away. As the years went by, however, I grew less concerned about water leaks. I could now be in the prime category for getting one…it’s been 8 years since I installed rubber washing machine hoses. They are a leading cause of water damage in homes.
What’s so dangerous about washing machine hoses? Well, without a water leak detector and automatic shut-off valve, if the hose develops a leak, hundreds of gallons of water could pour onto your floor before you came home in the evening, or thousands of gallons by the end of a week of being away (and disasters do tend to occur at the worst possible time…). The thing about washing machines is that the solenoid valves that let water into the tub tend to open and close very suddenly, which causes a pressure wave in the lines that supply the water. The cheapest hoses are rubber, which do a great job of absorbing the shock of the pressure waves, but rubber dries out over time and becomes brittle. Even if you’re not using the hoses every week, the rubber continues to age until it becomes brittle and POW! You have a small Niagara Falls in your laundry room.
According to an insurance agency, washing machine hose failure is one of the leading causes of indoor water damage in homes, and rubber hoses degrade over time due to heat, pressure, and water mineral content. Braided stainless steel hoses are reinforced, longer-lasting, and better resist bursting, so upgrading to stainless steel hoses is a low-cost home improvement that offers high protection. (Rubber vs. Stainless Steel: The Washer Hose Choice That Protects Your Home) Want to up your game? Add hammer arrestors (these act like mini-shock absorbers) to the line just after the valve. If you are in the process of building or designing a home, install a floor drain under the washer area, which are especially useful in upstairs laundry rooms.
Hammer arrestors attenuate the shock wave that comes from the sudden closing of water supply valves in the washing machine. (source: Oatey)
If it’s been five years or more since you replaced rubber washing machine hoses, consider this article a big nudge to help you realize the damage this could cause to your home. Measure the length of your washing machine hoses NOW and order some new, stainless-steel braided hoses. Most hoses are ¾” diameter and have standard hose connections, but come in various lengths. (If your drier also uses a water line, which is required for “steam” functions, get one for that too!) When they arrive, get on the ball and change them! It’s super-simple and doesn’t require a lot of tools (a bucket or small container to catch water from the old hose, an old towel to mop up spilled water, and a couple tongue and groove pliers (also known as Channel Locks):
-
Pull out your washer as far as you can to get access to the hoses.
-
Turn off the water supply at the valve on the wall (if there’s no valve, you’ll have to shut the supply off at the main valve your home; check out this article for suggestions of where this would be). Be gentle as older supply lines are made of copper and can corrode over time.
-
Place a bucket on the floor under the valve and use 2 pairs of pliers to disconnect the hose–1 to hold the valve steady so it’s not torqued, and 1 to turn the hose connector slowly anti-clockwise. A slow motion will allow the water pressure to dissipate so you’re not spraying water everywhere.
-
Drain the hose into the bucket and repeat disconnection at the washing machine end.
-
Connect the new hoses, MAKING SURE there are rubber washers in each connection, turning them carefully also to ensure the connections are not cross-threaded. Don’t over-tighten the connections.
-
Slowly open the water supply valves and check for leaks.
-
Clean up any spilled water with the towel and give yourself a pat on the back!
Prevention and peace of mind surely help in this stressful world. Do yourself a favor and get this task checked off, so that your laundry room doesn’t act like a water balloon waiting to burst and drench your home!
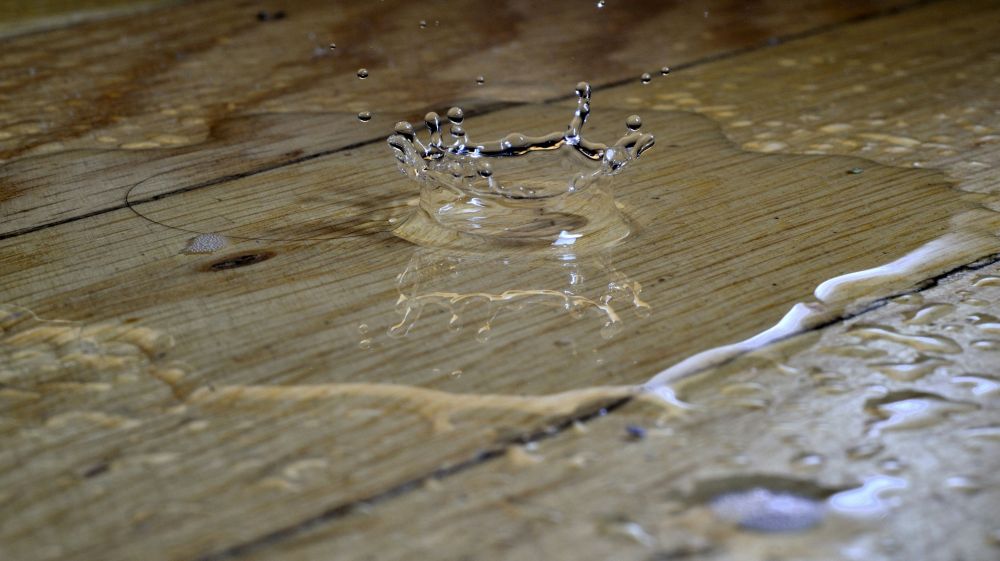
Photo by Piotr Łaskawski on Unsplash


