Monthly Archives: April 2022

Cozying up to Smart Vents

Cozying up to Smart Vents

I’ve stockpiled blankets in the downstairs bedroom closets for years.  Every winter, I layer them on beds and apologize profusely to guests, explaining that my ventilation system can’t keep the downstairs and upstairs temperatures evenly warm, and in the summer evenly cool.  It’s very frustrating to have to overheat or overcool one section of the house, to get the same temperature elsewhere.

Traditionally the way to solve uneven heating and cooling in your home is via properly sized and routed ducts and HVAC equipment.  In an existing home, that can be quite expensive.   We’ve always had adjustable vents, thanks to the metal levers that frequently get frozen in one position, but these manually adjustable vents don’t do a lick of good on the ceiling in the middle of the night when you are tired and miserably hot or cold.  Now there is a better way.  Drumroll….ta-da!  Smart vents seem to solve this problem by regulating your vents to achieve the temperatures you want, no matter if they are the same throughout the house, or slightly different in every room.  

Smart vents operate with smart thermostats.  They talk to each other wirelessly via radio frequencies, and the thermostat will tell the vent to open or close, allowing more or less conditioned air in the room.  By closing, the vent will automatically cause more air to be forced into other rooms, as well.   Closing off a room that’s not being used via the thermostat is the equivalent to climbing up on a ladder and closing the vent manually, but easier!  This is good news especially for those who are not able, or should not, do these things.

There’s no doubt that smart vents increase comfort, but they also save money!  It may take one or more years to recoup the initial investment for your smart vents, depending on the following:

  • If you have a situation like mine described above, overheating or cooling certain sections of the home in order to get “comfortable” temperatures in another, this will definitely benefit from smart vents.

  • The more you are away from home, or not using certain rooms, allows vents to close off and save costs.  “Away from home” features can be managed by a programmable thermostat, though, so it’s really a function of being able to close off certain rooms, like non-bedrooms at night.

There are currently three smart vent manufacturers on the market: Flair, Keen and Ecovent. A lot of homes already have a smart thermostat.  Traditional programmable thermostats are not considered “smart”, though, because they do not make decisions or take action based on outside information, only their programs.  A smart thermostat will adjust to someone’s waking schedule and adjust the temperature automatically.  Here are some things to consider when purchasing smart vents:

  • Smart vents need smart thermostats to work, so they must be compatible with a system you already have, or have their own smart thermostat(s).  Connectivity between different devices is paramount.  If your smart thermostat won’t talk to your smart vent, you’re out of luck!  The most widely compatible smart vent is Flair.  Flair can talk to Ecobee, Nest, and Honeywell smart thermostats, as well as work with Alexa and Google Assistant.

  • Smart vents run on batteries (but Flair also has a 24v option).  Battery life is important.

  • Smart vents replace your existing vents, so if you are retrofitting, they need to be available in the sizes that are in your home.  It’s not necessary to change every vent in your home to a smart vent, but more vents cause the system to work more efficiently.  Flair and Keen allow you to add components a la cart, but Ecovent is more suited to a whole-home retrofit or newbuild (even though Ecovent is now owned by Keen). 

  • Smart vents only work by decreasing air flow to selected rooms; they have no way to increase airflow (for example, to a room reclaimed from an attic space that suffers from too little airflow).  In order to rectify this problem, you may consider a booster fan.  Unlike vents that increase pressure in the HVAC system, booster fans actually reduce pressure and provide more conditioned air to a vent that is lacking.  There are 2 types of booster fans: in-line (installed in the ductwork) and register fans (sit over or replace the vent in a room).   Register fans in general are easier to install, but if you have multiple vents supplying a room, one in-line fan may be less costly and more efficient. 

  • One more benefit of the Flair system is its ability to make mini-splits, window units and portable heating and cooling units “smart”.  The “puck” or smart thermostat in Flair is compatible with over 250 brands, and if you have a problem connecting it, Flair offers for you to send the unit’s remote in to them, and they will connect them for you.  Thus, even if you have one non-smart window AC in your apartment, you can control it from anywhere using a Flair Puck and their app. 

This article has other details about Flair, Keen and EcoVent systems, even though it’s a little bit dated (Keen has purchased EcoVent).   From a studio apartment to mansion, smart vents have something for everyone to have more comfort and lower energy costs (yes, please!). 

Photo by Sdf Rahbar on Unsplash

To Compost or Not to Compost–here are some ways to “take out the garbage”!

To Compost or Not to Compost–here are some ways to “take out the garbage”!

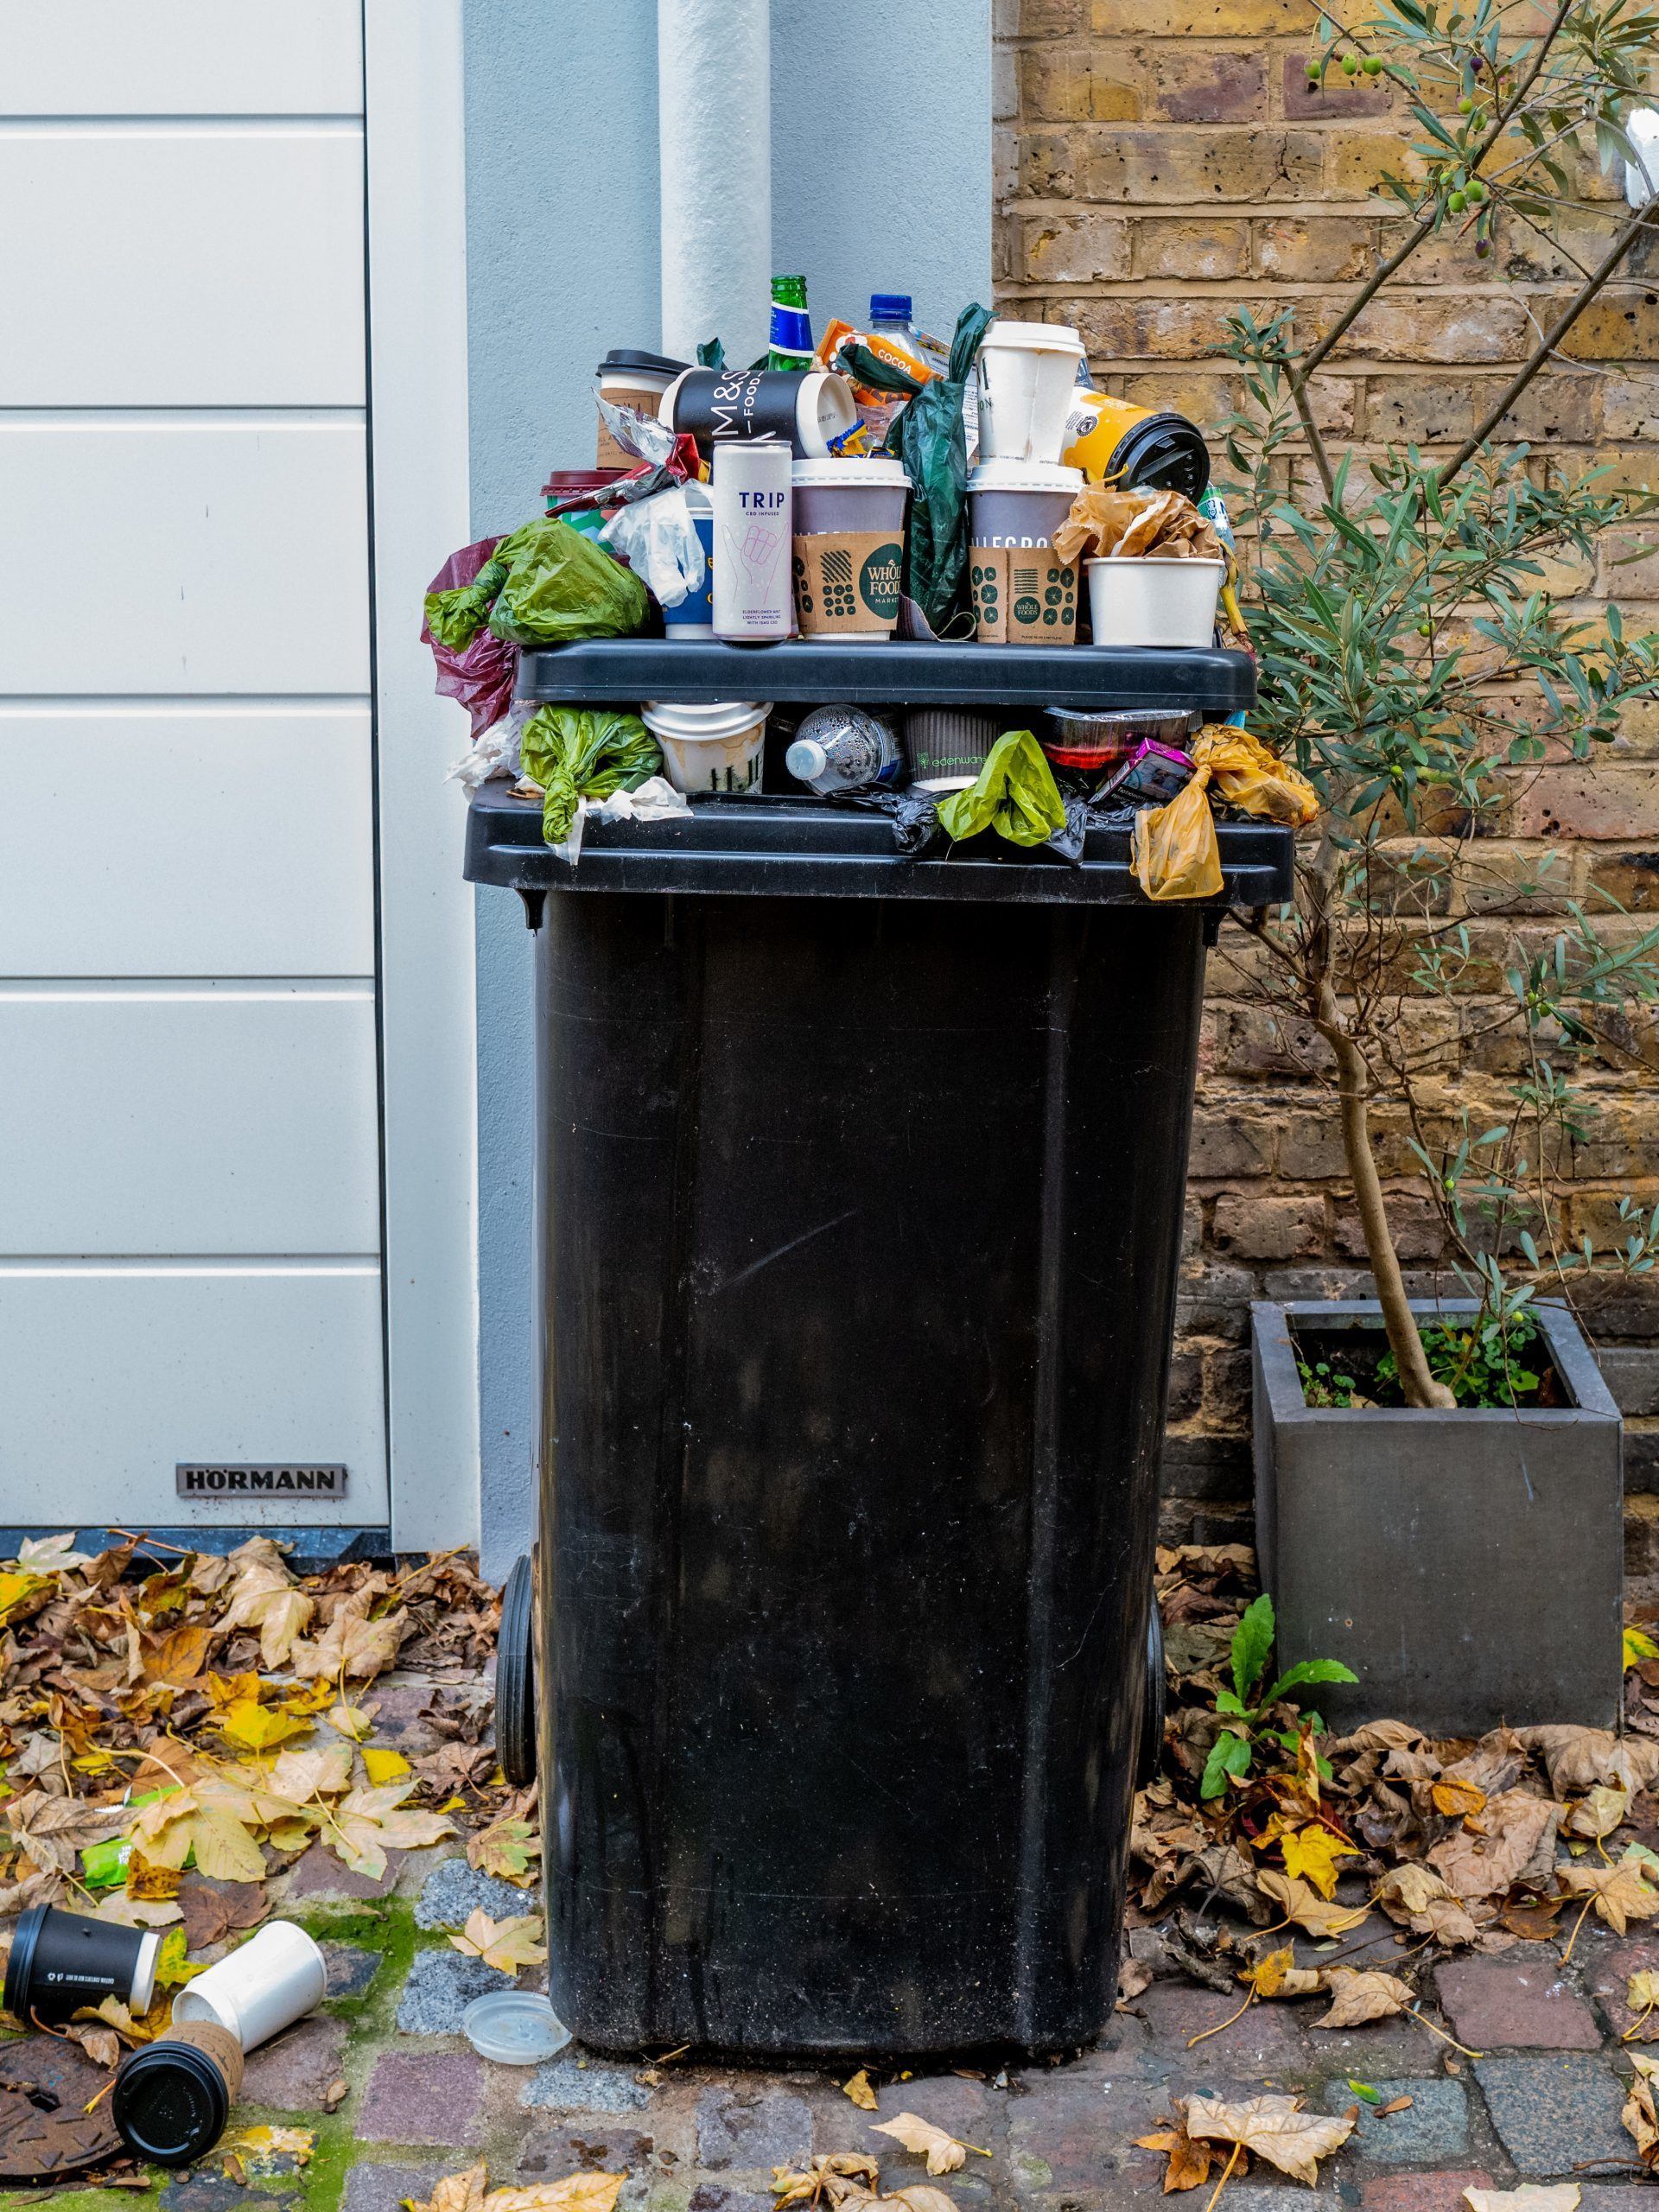
Kitchens are full of smells.  Of course we want the good smells, but we also have to work to keep the bad smells at bay.  What comprises most of those bad smells? Kitchen garbage.  Not everything gets used, so into the bin it goes until the smell becomes too strong for us, or too enticing for flies, or both!  What if we could use more of that garbage and get rid of the smell?  Modern composting is the answer.  Some new products on the market brought this topic up for my own research.

First of all, what are the alternatives to throwing kitchen scraps in the bin?  Here’s a starter list:

  1. Throw them into the yard to decompose naturally
  2. Feed them to animals such as chickens and pigs.  (Check on which scraps are safe for them first!)
  3. Bury them directly in dirt or the garden
  4. Intentionally make them into compost for plants and gardens

1. Ok, I’ve been warned that the first one is not a safe option.  Wandering dogs and other animals may eat things like corncobs or fats that are not safe for them, and this kind of waste near your home can lure flies, ants, rats, raccoons and possums into close contact.  It’s best to avoid this method, as easy as it is.

2. If you have chickens and pigs, or neighbors who do, then you have a use for most of your kitchen waste!  Just sort the vegetables from the fat and bones (grease and bones are not good things for animals), and use a storage container inside or outside to keep them until it’s feeding time.  Here’s a great resource on what to and what not to feed animals. 

3. Since burying is a bit of a hassle, you’ll probably want to store scraps until you have enough to make it worthwhile.  Many containers you already have may be suitable, like oversized coffee cans and old tupperware, but these don’t contain smells or look pleasing on your countertop.  A functional kitchen scrap container should:

  • Minimize smells (and flying insects)
  • Contain liquids
  • Provide aeration to avoid mold

Here are some of our favorite storage containers:

  • Full Circle Scrap Happy Food Scrap Collector and Freezer Compost Bin, $18, is ingenious.  To use it just hang the bin on a cabinet door or drawer so that you can simply scrape peelings off the cutting board or countertop directly into the bin, then store it in your freezer to lock away smells.  It's dishwasher safe and of course, freezer safe. 
  • Bamboozle Food Compost Bin, $45, is one of the most stylish available.  It is made of bamboo, comes in three colors, and includes a spare charcoal filter to keep smells away.
  • Utopia Kitchen Compost Bin for Kitchen Countertop, $27, has the good looks of stainless steel and also the odor protection of a charcoal filter.  I prefer this one to a similar model by different brand, because Utopia looks less like a trash can on your countertop. 
  • DIY your own compost bin!  Here is an easy video on how to make your own container with a few free and inexpensive materials.  You can purchase carbon filter media here and use it in a number of projects around the house:  HVAC vents, shoe deodorizers (while not wearing them), enclosed litter box deodorizers, trash can lid deodorizers, etc.

Other models may include compostable bags as a way of keeping liquids from reaching the container for easy clean-up.  If you need extra charcoal filters for your store-bought bin but want to get the most value, again look into carbon filter media.  

Now that you have a way to store kitchen scraps, you can proceed to bury them in your vegetable or flower garden.  Dig the hole at least 10” deep and several inches away from the roots of plants, to deter animals from following the scent and exhuming them, and don’t bury meat or dairy products. 

4.  If you are a gardener or want to donate good compost to a gardener, then this is the final step: making your own compost with those scraps!  You can buy or DIY a compost vessel, because, like method #1 above, making compost in an open pile invites insects and animals.  Composting requires organic matter, moisture, oxygen and bacteria (University of Illinois Extension).  Let’s go through each of these and see how the composting process works.

  • Organic Matter: compost requires a mix of brown organic matter, which supplies more carbon (such as dead leaves, twigs, and manure), and green organic matter, which supplies more nitrogen (lawn clippings or the scraps you bring from the kitchen).  The best mixture is approximately 50% brown and 50% green.  If you are able to chop up the scraps (thin peelings are fine as is), this decreases the time needed to make compost because more surface area is exposed. 
  • Moisture: Water is needed to aid the composting process, so that the whole lot should be similar to a wrung out-sponge.  Holes in the bottom of the composting container help to avoid too much moisture, which can lead to mold.
  • Oxygen: This is why your composting vessel should not be tightly sealed; instead, it should have aeration holes throughout, to support air exchange.  Turning the compost pile (either manually with a shovel or rake, or by rotating the bin) also provides aeration so that matter on the bottom gets shifted to a place with more oxygen. 
  • Bacteria: Fortunately, the necessary bacteria are already present in the air and organic material.  All you have to do is feed them with the other three ingredients and they accomplish the breakdown into compost!  Heat and some smell are also by-products of the breakdown, but if you keep the compost bin a few feet from the house and turn it over regularly, these should not be an issue.  Heat actually aids the process, so avoid turning the pile too frequently.

Now, all you have to do is decide what kind of container to compost in!  It can be as simple as an oversized pot (like the basic black pots that nurseries use for trees) or as fancy as they come on Amazon.  The ideal size, according to the University of Illinois Extension, is a pile that is between 3 feet cubed and 5 feet cubed (27-125 cu. ft.). This allows the center of the pile to heat up sufficiently to break down materials, optimizing the time.  Smaller piles do not generate/hold heat well, so it takes longer to generate rich compost.  If you make a 3-5 ft3 compost bin, turning every two weeks in a northern climate will give you compost in about 3 months.  If you buy a compost bin, you can use the guide provided to know when to turn it over. 

Now that you know how composting works in general, you will also want to know how technology has enabled us to speed up that process.  Kitchen-countertop composters are great for those who can’t do a 3-5ft3 compost bin but may have a container garden for vegetables that can benefit from all those nutrients in the kitchen scraps (think: city apartment with a balcony).  Here are some in that category:

  •  Lomi by Pela, $500, adds heat, abrasion and oxygen to the organic matter, to produce compost starter or ready compost in 3 different cycles.  Two of the three cycles use Lomi pods, which are a proprietary blend of probiotics that improve breakdown, reduce smell and provide rich nutrients.  These pods probably provide what normal composting adds, which is the brown organic material from leaves and manure.
  • The Bokashi Organiko Odor-Free Kitchen Compost Bin by Teraganix, $119, was developed by a Japanese scientist.  “Bokashi” means “fermented organic matter” in Japanese, and is different from compost in that it is an anaerobic process, meaning that it proceeds in the absence of oxygen.  Therefore this kitchen composter is sealed tightly in order to avoid air intrusion except when adding more kitchen scraps.  The anaerobic process requires that you add “Bokashi Bran” to the bin to speed up the process and keep the smell away, but it also allows you to add dairy and meat products in your scraps.  The liquid that is drained off every few days may be watered down for plant food, and the end product after 10-20 days is “compost starter” that can be buried in your garden.  All in all, it’s a speedier process than outdoor composting and to do Bokashi yourself without purchasing this bin, check out this article

If you have a lower budget and outdoor space (for many of us, growing our own vegetables is also about saving money), then you can check out these options for using the kitchen scraps in an outdoor composter.  Two chambers allows you to add scraps weeks later to a second bin, so that the separate bins will continue to generate different stages of decomposition. 

  • Inexpensive large one-chamber rotating model with great ratings: Saturnpower 43 gallon, $69

  • Dual chamber best-selling composter from Amazon: VivoSun Dual Batch 43 gallon, $95

  • And here is a great article on making your own compost bin, and another video that seems to require less wood and hardware like casters.    

It’s important to be sure that compost is “ready” before adding it to your plants, because compost that is not mature can actually damage plants with its acidity, and by stealing nitrogen and oxygen from the soil to complete the decomposition process.  Compost is “done” when: 1) it is no longer heating up after you turn it, 2) it looks dark brown and none of the ingredients are recognizable, 3) it smells like “earth” and not rotting vegetables.  This article goes more in-depth about how to assess your compost. 

Compost can be used in a number of ways, even if you don’t have a “garden”.  You can rejuvenate your lawn or backyard with it, use it when planting new trees and shrubs, and also to nourish existing trees and shrubs.  For gardeners, you can enrich the soil in fall, spring and summer for healthy, fruitful plants.  

Start purging the kitchen smells and turn your garbage into gold with compost!

Photo by the blowup on Unsplash

Renovation Nation: what is the toxic cost?

Renovation Nation: what is the toxic cost?

We are suckers for new countertops and open-plan architecture, and TV shows sometimes make it look oh-so-easy to do yourself!  Renovations come with a toxic cost, however, when you consider the materials you are removing and the new ones that get installed.  We hope you take these into consideration for the health of your family and the workers (maybe yourself)!

First of all, renovations take time.  Time for demolition, time for installation, and even with good planning in this era of supply delays, time to source materials: it all adds up to a period of inconvenience when renovating your primary residence.  Where do you live in the meantime?  Although moving to another building is the safest option, not everyone has the ability to move out during the whole renovation.   Sometimes the budget does not allow for a temporary move-out.  Sometimes your home is just the location you need to be to work and be together.  Whatever the reason, you can safely live in your home while undergoing renovations, by taking precautions.  This article has many excellent tips for keeping the toxins from renovation out of your living space. We would add: make sure to use a HEPA air filter with charcoal component in your living space, so that any dust and VOCS that sneak through the cordoned-off areas or ventilation is picked up by the filter.

  1. Plan for success!  Even if you are hiring a contractor, research the availability and costs for techniques, tools and materials that will make the job less toxic.  For example:

  • If the home under renovation was built before 1978, have it inspected for lead paint and asbestos, and budget for professional removal agents for these materials.

  • If major mold issues (such as from a leaky roof or prior flooding) are a factor in the renovation, ditto on hiring professional mold rehabilitation services!

  • This primary-care doctor, wife and mother knew that she had to prioritize materials because time and budget did not allow her to research everything.

  • Drywall, paint, and even the plastic that is used to partition off the renovation from the living area, all have hidden toxins.  This renovator did her research and found that non-toxic choices don’t always need to cost more!  Here are some common materials that need your attention so that you can make low-VOC choices for years of healthy living:

    • Structural Building materials: treated and laminated wood, metal and other materials

    • Insulation, drywall and compound (check out this list of chemical-free building materials)

    • Paint, Stains and finishes (thegreendesigncenter.com has safe choices for this and the following categories)

    • New flooring

    • Fixtures

    • Furnishings and decor

  • Budget time and money to move all furnishings, clothing, cooking and food items that will not be disposed of, out of the construction zone.  Although it seems like a chore to pack up all of your dishes and cookware if only the floor or ceiling in your kitchen is replaced, it’s much less work than cleaning all of the cookware AND the cabinets when you notice toxic dust on them after the renovation.  Even furniture protected by plastic can have accidental gaps and cuts when drywall workers and paint sprayers are at work.  Renting a storage pod or packing the garage are two options to keep the rest of your house navigable.

  • Plan for delays.  Whether it’s weather-related or supply-chain related, if you can source materials ahead of time, do it!  If you don’t have the storage area, try asking friends and family for space. Make sure to acknowledge their contributions during a “reveal” celebration party or offer to visit and stay in the new room(s) they helped to create.  

  • Take the weather into consideration.  If you live in a cold climate, renovating during the summertime allows for open windows to vent dust and VOCs.  If you live in a warm climate, renovation during cooler months may make sense for the same reason if open windows can replace air conditioning.

  1. Demolish with care.  That seems like a tall order for the demolition crew ready with their pry bars and sledgehammers, but it’s up to the manager to make sure that partitions are made, ventilation is secured (including taping off vents in spaces under renovation and using carbon filter media in other ones), and boundaries are respected.  I know an inexperienced contractor who sanded down the drywall in one bedroom, only to open the door to a “snowy” living room coated with fine dust, all because the ventilation was not secured.  If you are able, planning a vacation for your family during the demolition phase can remove the stress of noise and toxins piling up in and outside the house.  Besides the obvious dust, here are some hidden toxins that can get stirred up during demolition:

    • Mold, lead paint and asbestos (don’t mess around– call in the experts for these)

    • Leaves from the attic

    • Unconventional wall and ceiling insulation: some older homes may have sawdust, shredded newspaper, cellulose, vermiculite, urea formaldehyde foam, and asbestos (also used in wiring insulation)

    • Animal excrement and carcasses (rodent, bird and bat poop can carry a number of bacterial or fungal diseases)

    • Chemicals used to strip furniture or flooring can be very toxic.  If you are saving your kitchen cabinets or other built-in furniture to change the surface color (a process called resurfacing), research your options on ways to minimize and avoid harmful chemicals (and dust). Check out 2 tips from a renovator who has stopped using chemical strippers altogether:

      1. How to create a raw wood finish with paint (no stripping or bleaching required)

      2. Dixie Silk Mineral Paint: best no-VOC cabinet paint

  2. Rebuild with excellence.  Here’s some tips that help make the job sustainably healthy for everyone:

    • Insist on using masks and safety equipment like glasses, boots and long clothing for dirty jobs.  If you and a few friends are doing the demolition, let them know you care about their health by supplying respirators and safety glasses.  If a contractor is doing the work, since you can’t control their workers, make sure they are licensed, bonded and insured.

    • Clean up daily with the right tools.  Making sure that the vacuum is exhausted out a window or using a dedicated HEPA vacuum for construction avoids piles of dust that get disturbed the next day.

    • Plan for and communicate the schedule, including utilities outages.  Coming home to a warm fridge adds to the stress of living through renovations, so if you will live in, talk with your contractor about the schedule and ask him/her to keep you apprised of delays.  

    • Be focused but flexible.  Unforeseen costs inevitably turn into compromises and substitutions, so be prepared to negotiate on some things in order to keep healthy priorities at the top.  If you encounter mold or toxins that require extensive rehab, sometimes in-store designers can help keep the budget under control by offering substitutions on decor.

    • Do it for yourself and your family.  Many times home-reno shows “recap” the numbers by calculating “equity” into a home with the value of such improvements on the local housing market.  However, not everyone in the local housing market values the healthy choices you make in your home, so don’t count on a higher resale value because of your choices.  I thought this was one of the most valuable points that this doctor and mom made in her post. 

If you know that this is the right time to renovate and you’ve done your homework on healthy ways to do it, we wish you the best experience and outcome!

Photo by Milivoj Kuhar on Unsplash